
After you have washed out a carboy that was used for holding wine, it is still wet inside. Wet carboys are a magnet for unwanted microbes. Some people are alright with leaving some bisulfite solution in the bottle during storage. I am not. I don’t use sulfites. So I prefer to have the carboy completely dry. During the summer I could manage this by inverting them in milk crates and leaving them in the bright sun for a couple of days. But this was slow and during most of the year ineffective. Henry Anderson from Dominion Distillery suggested that I could use something like a boot dryer. Looking at the various products from PEET, the biggest boot dryer company, I could not find anything that exactly fit my needs. I emailed them and asked if they could think of anything. They wrote back saying that they did not have exactly what I needed but that I might be able to adapt their gun cabinet dryer to do the job AND they would send me one for free to try it out! It was your basic “offer you can’t refuse”. Two days later it was in my winery.

Fastening the PEET gun cabinet dryer to the bottom of a milk crate with zip ties.
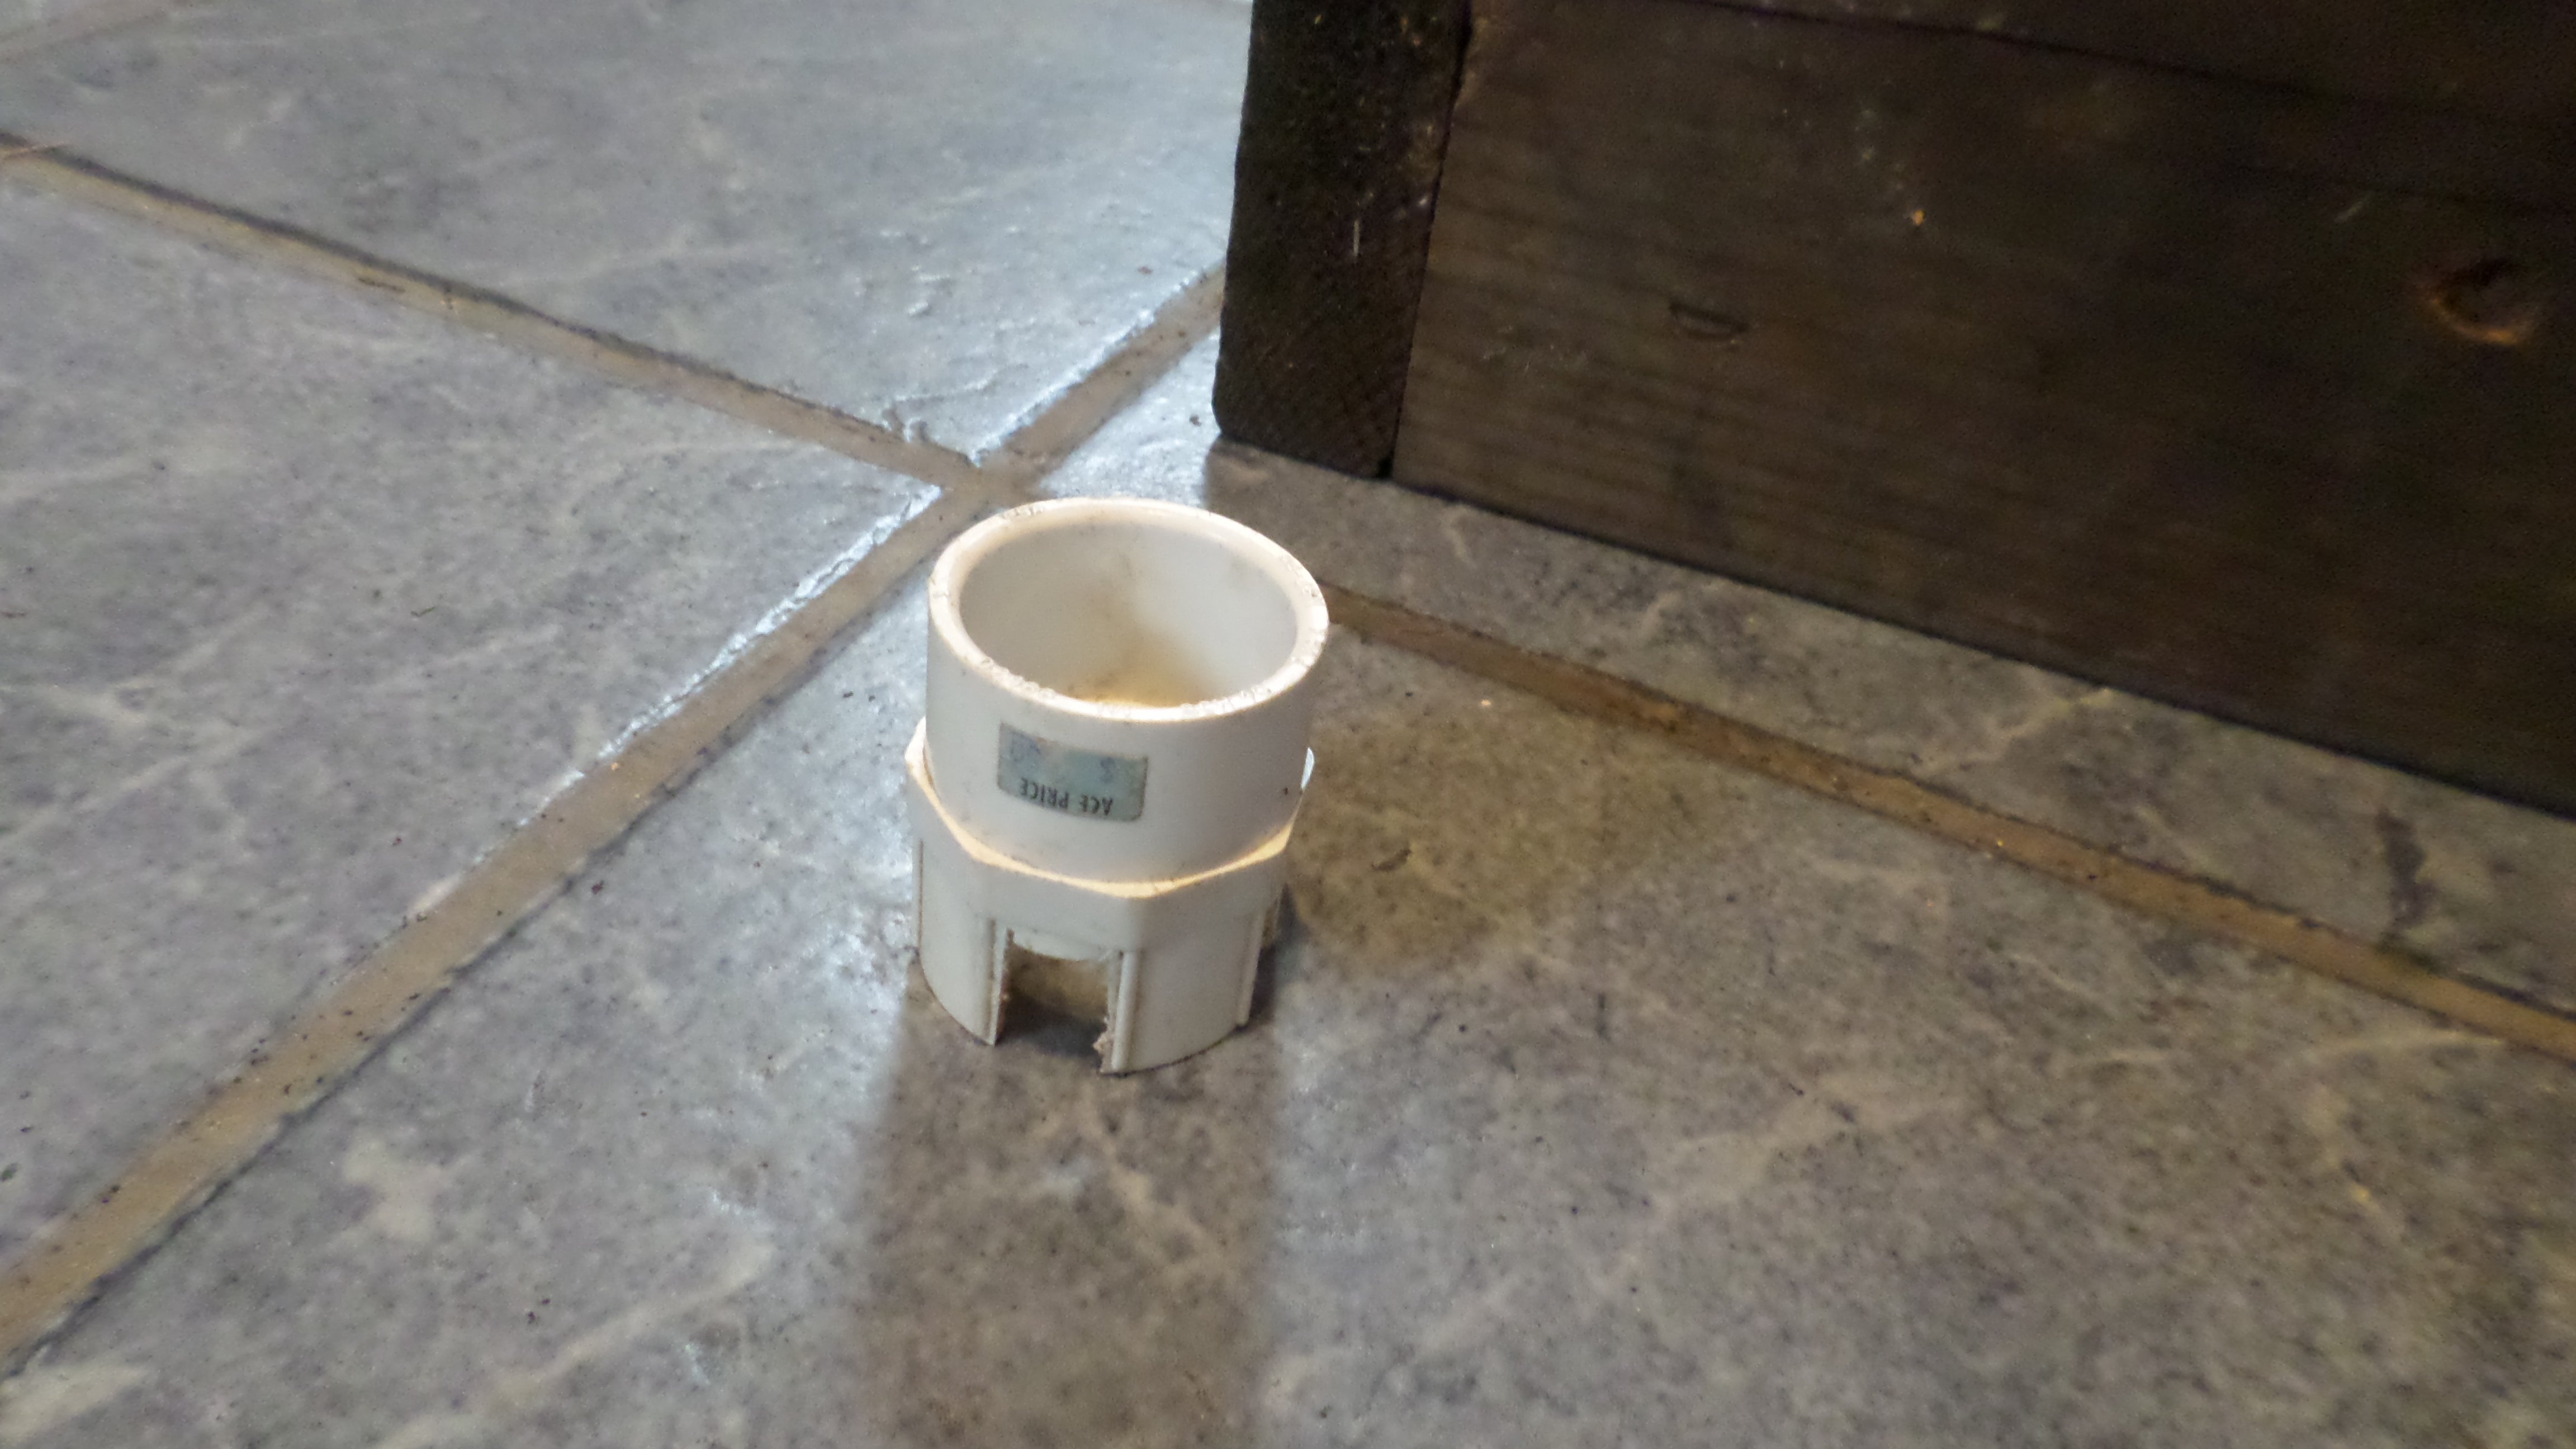
The original dryer outlet pipe is too big to fit inside any carboy I have. But a 1 1/4″ PVC coupling fits snugly over the outlet. A 3/4″ PVC pipe fits inside all of my carboys with enough room to allow a flow of air in and a flow of water down and out. I bought a reducer from 1 1/4″ to 3/4″ and was ready to make a carboy dryer. I knew that the 6.5 gallon carboys I have are exactly 12 inches across and fit nicely in a milk crate. I figured that if I could stack a crate to hold the carboy over a crate that held the dryer, I would be in business. It almost worked.
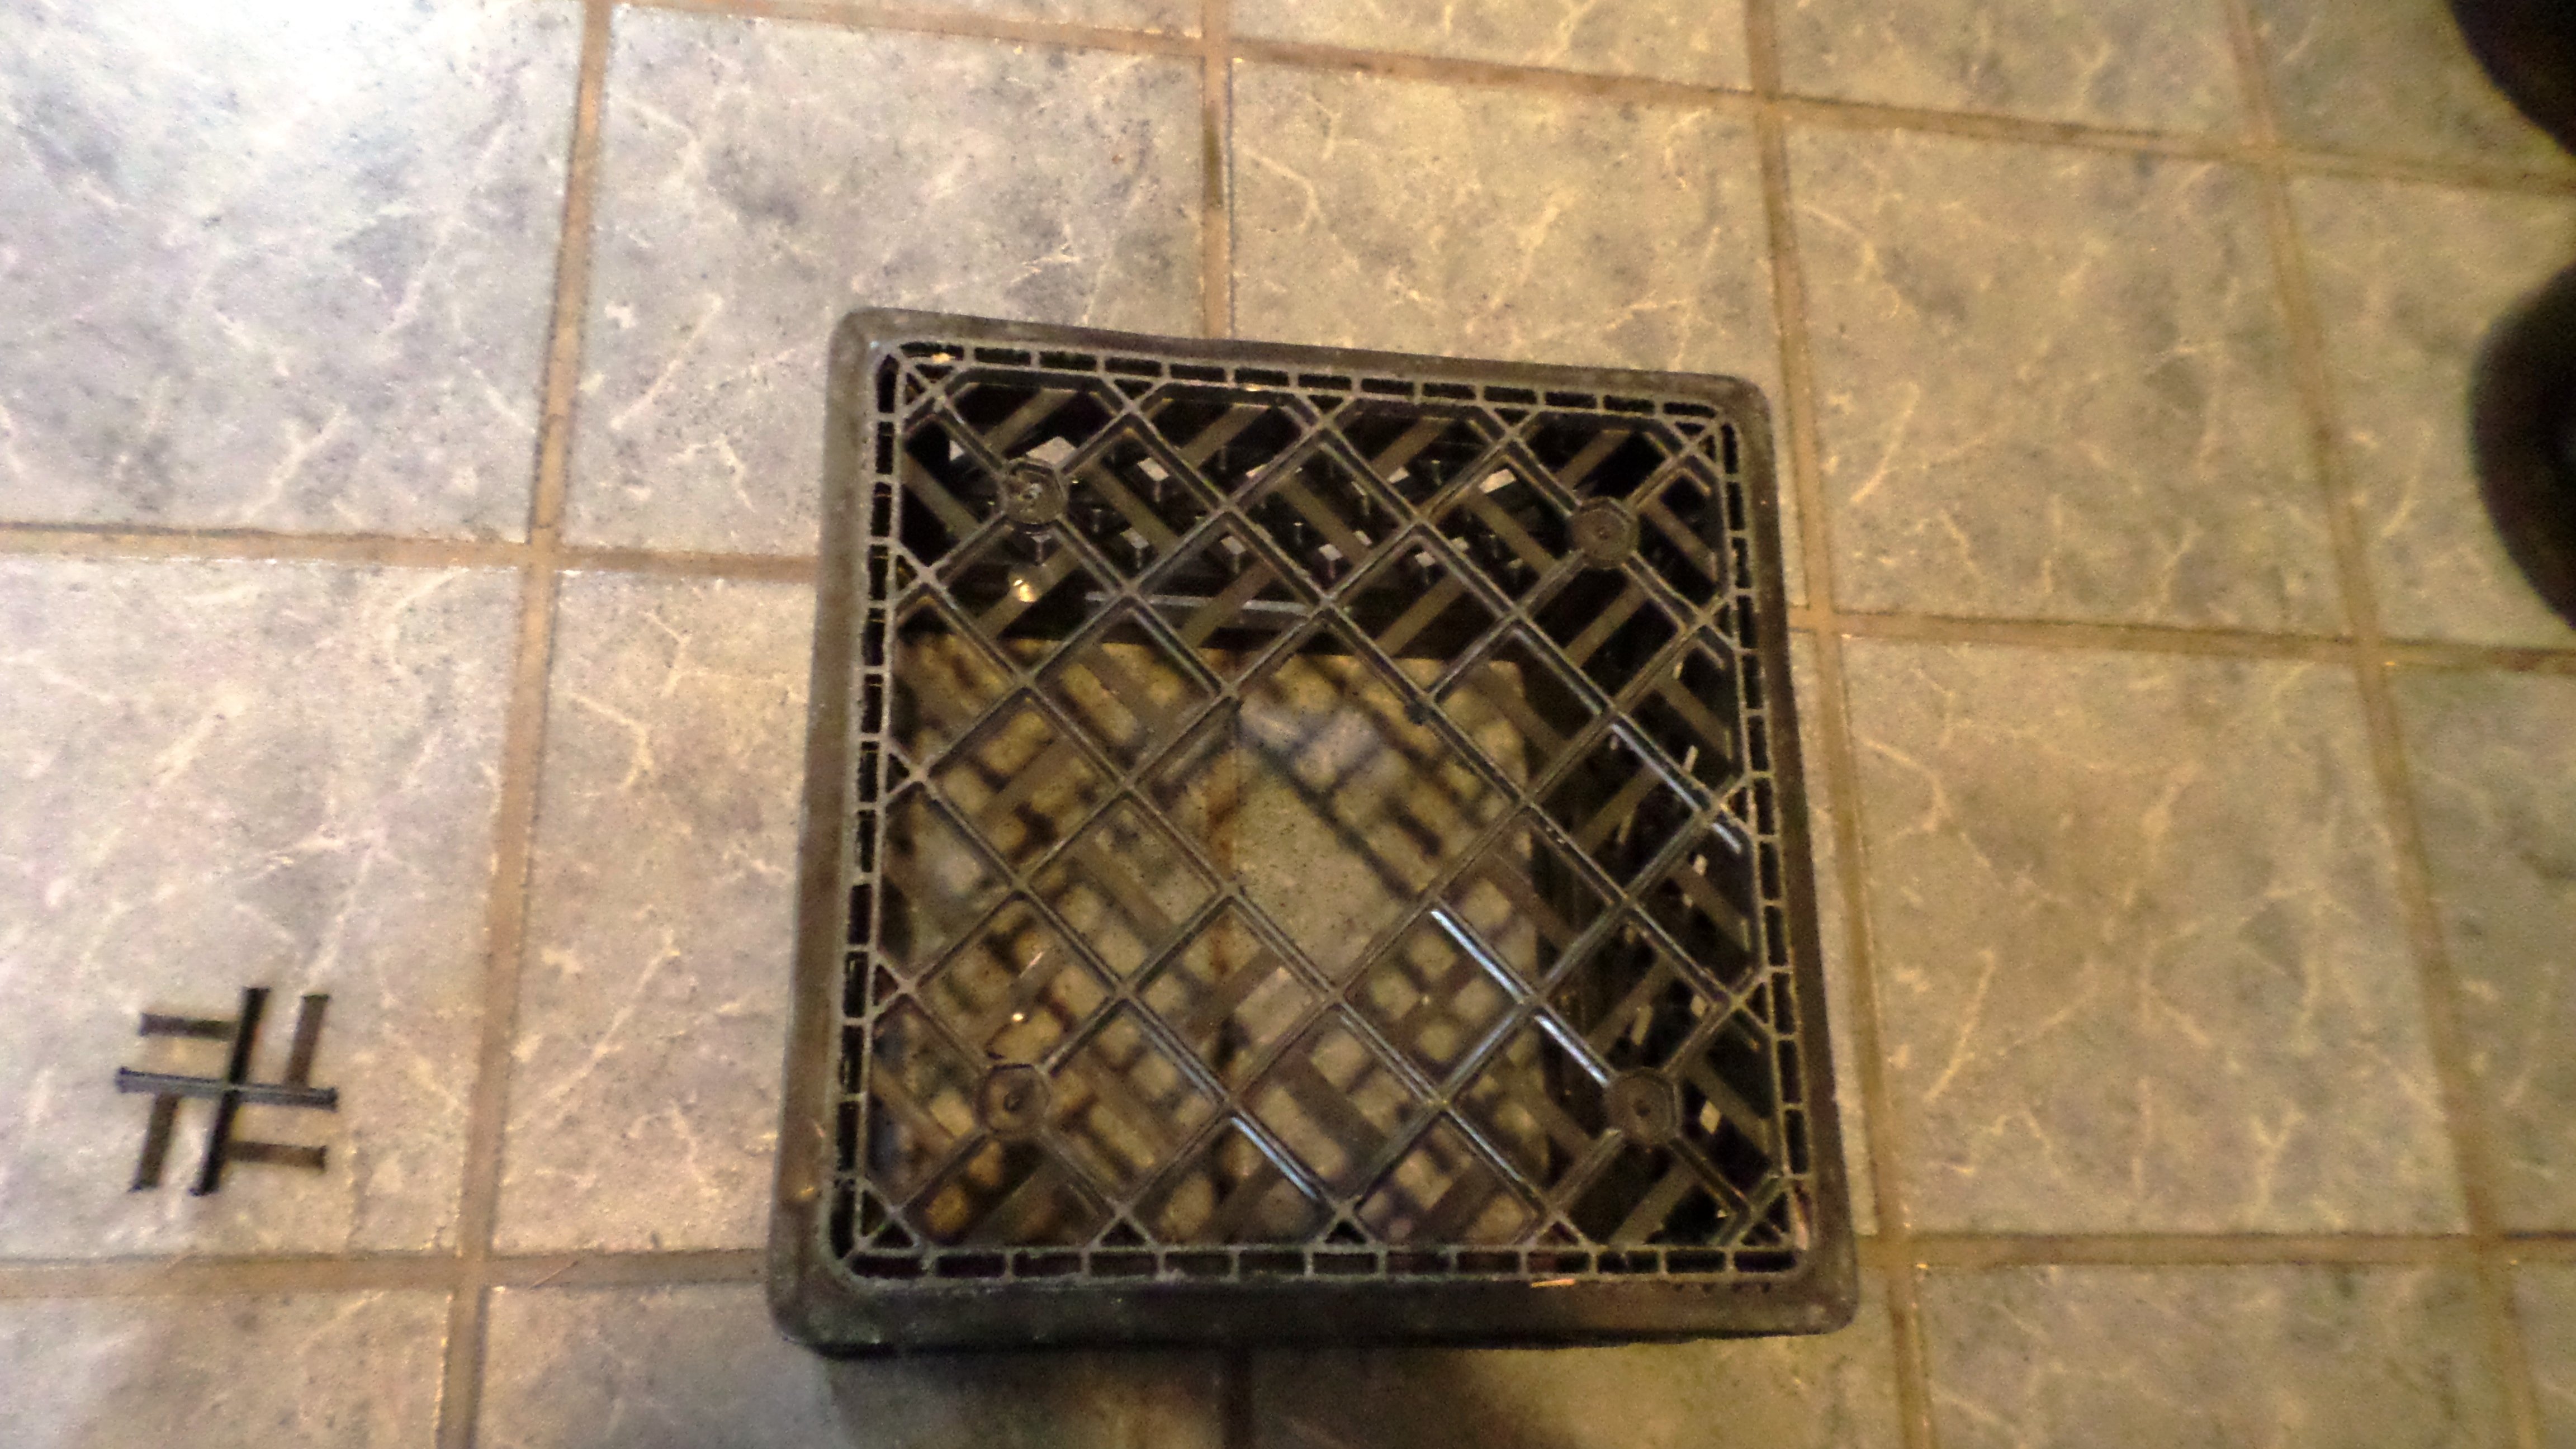
Hole cut in the bottom of a second crate
There were two basic problems. One was that the carboy mouth would sit so tightly on the reducer that water and air could not flow past it. The other was that the pipe pushed the carboy high enough in the second crate that it was unstable. A temporaty fix of putting wooden spacers between the two crates showed that the natural flow of air through the dryer was perfect for the job. The first carboy was dry within a couple of hours.
The temporary spacing lifted the carboy away from the PVC reducer.
To make the solution more stable, I modified a 1 1/4″ PVC coupling so that it had 4 vent holes around the bottom and slipped it over the 3/4″ pipe. That way the carboy would have circulation enough to dry out when sitting on the vent coupling. Then I created an insert out of 2×6
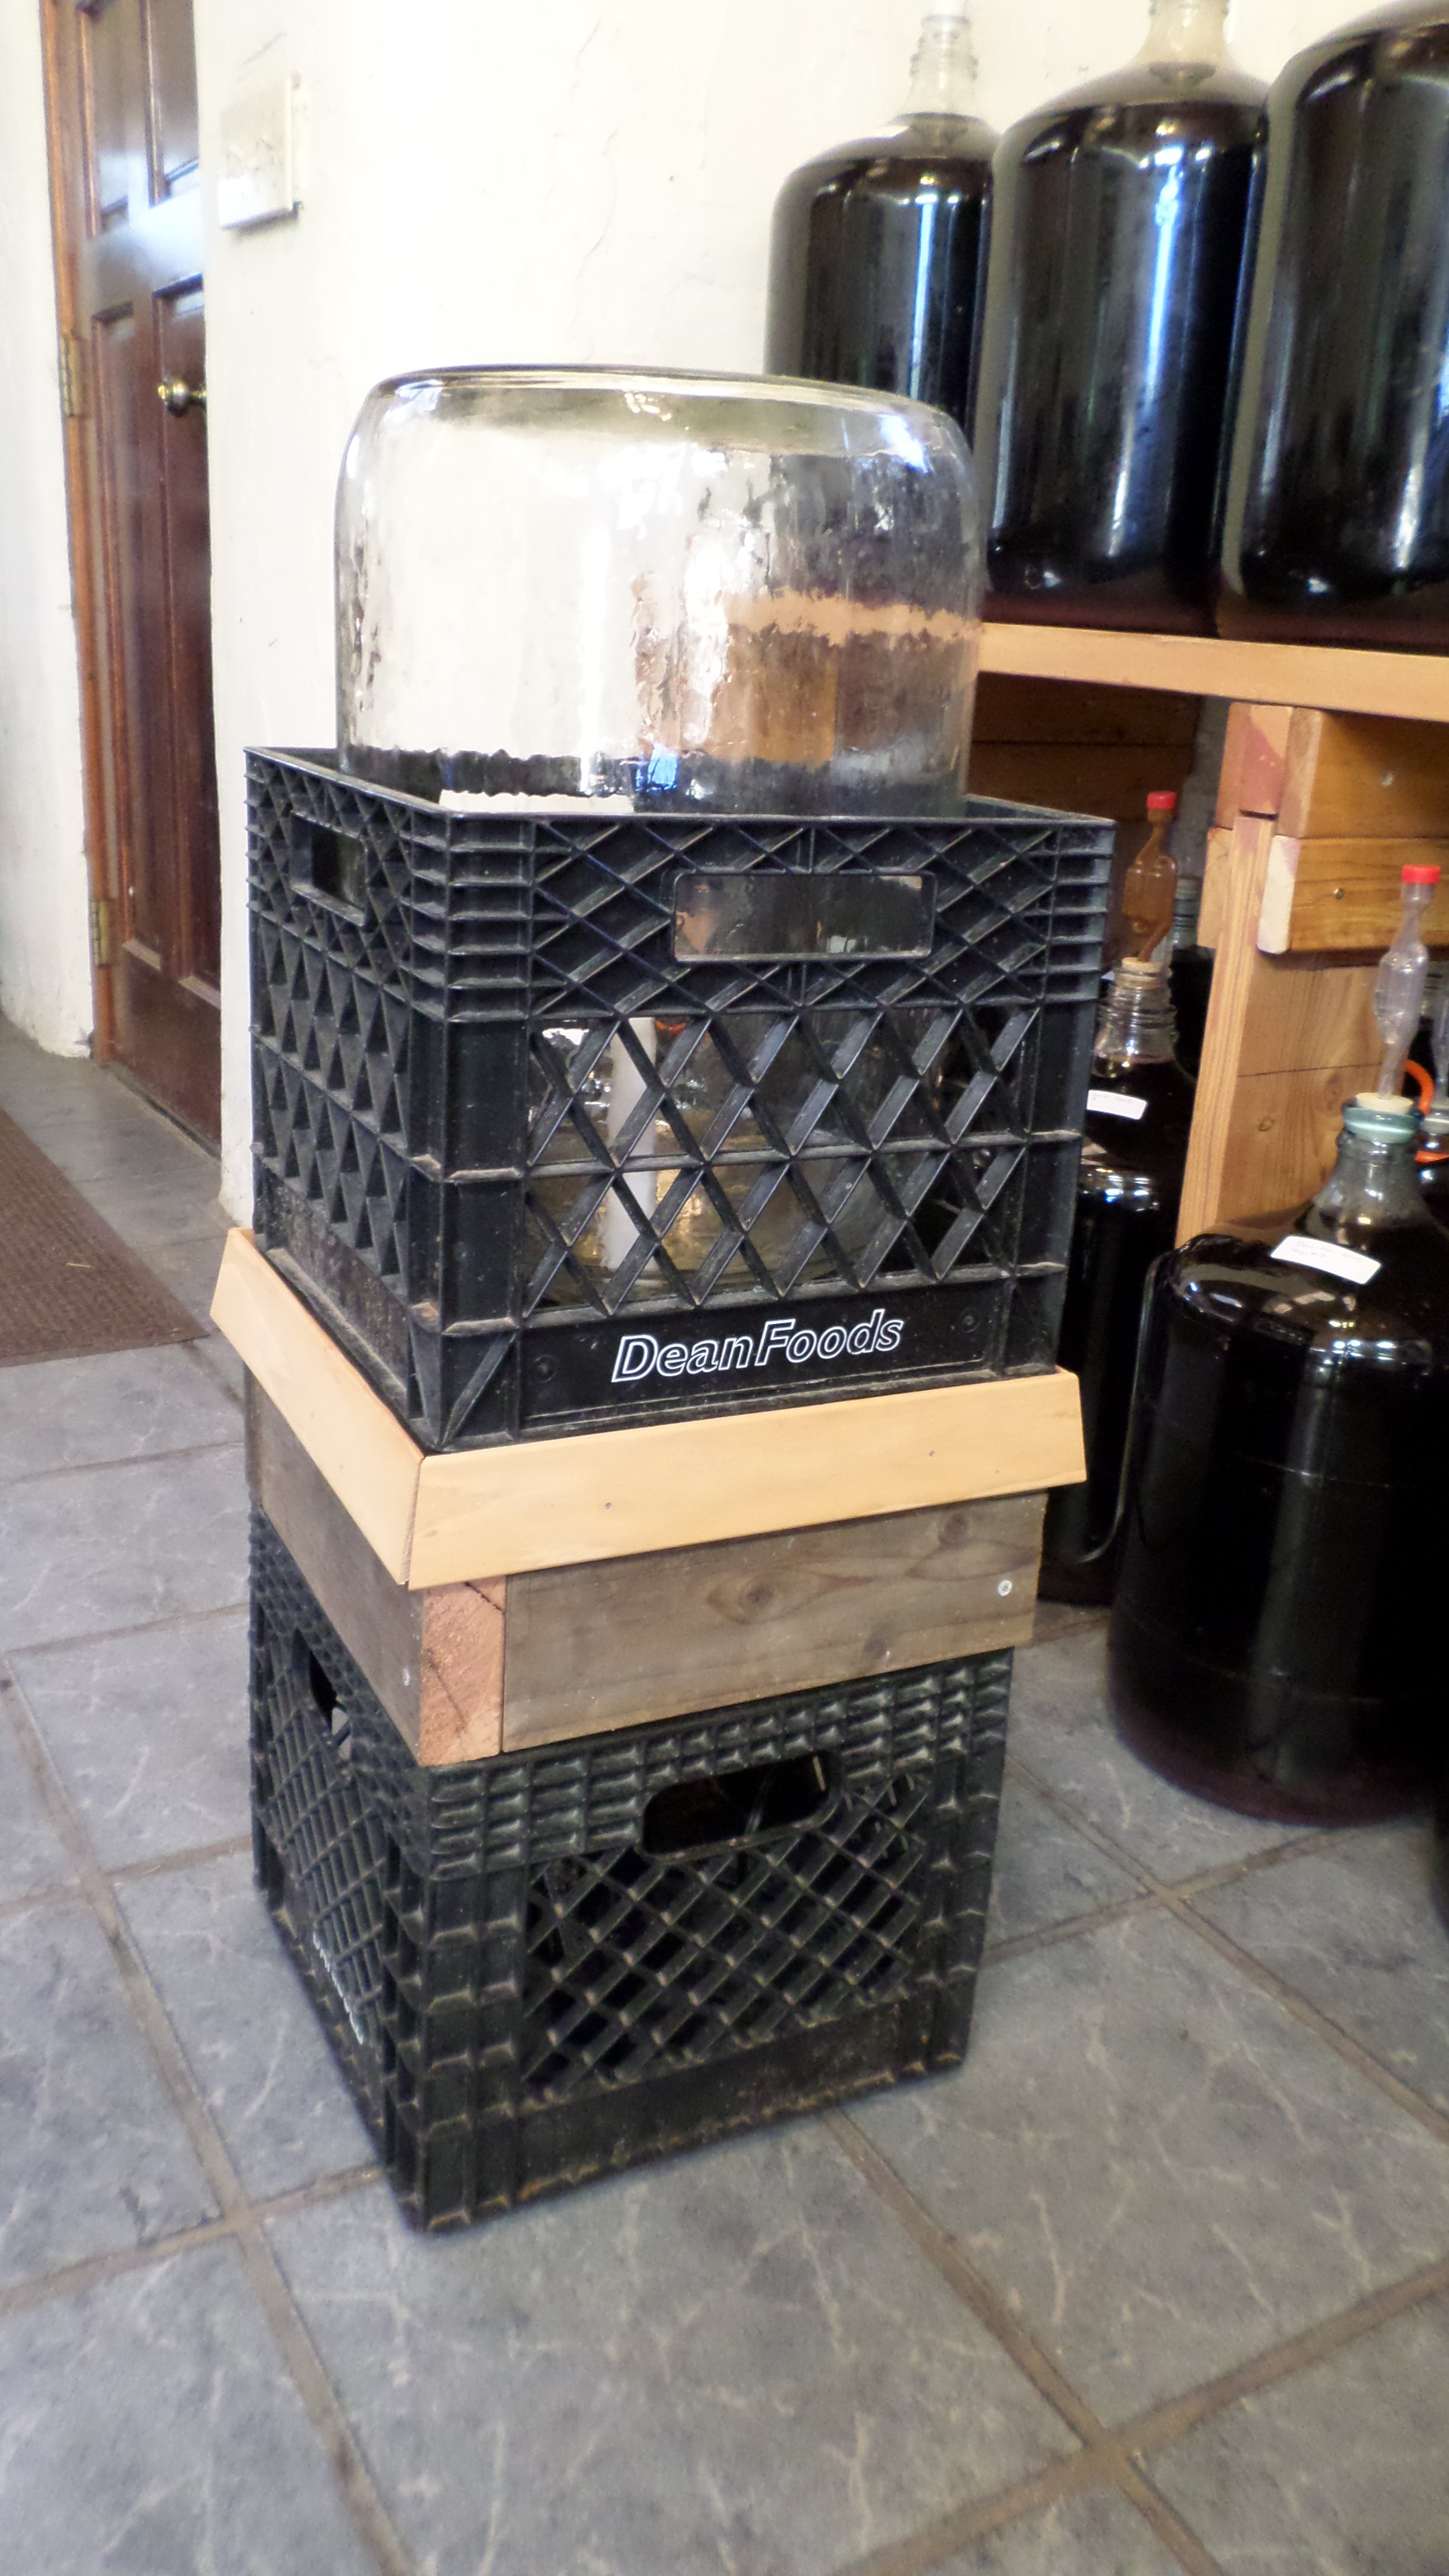
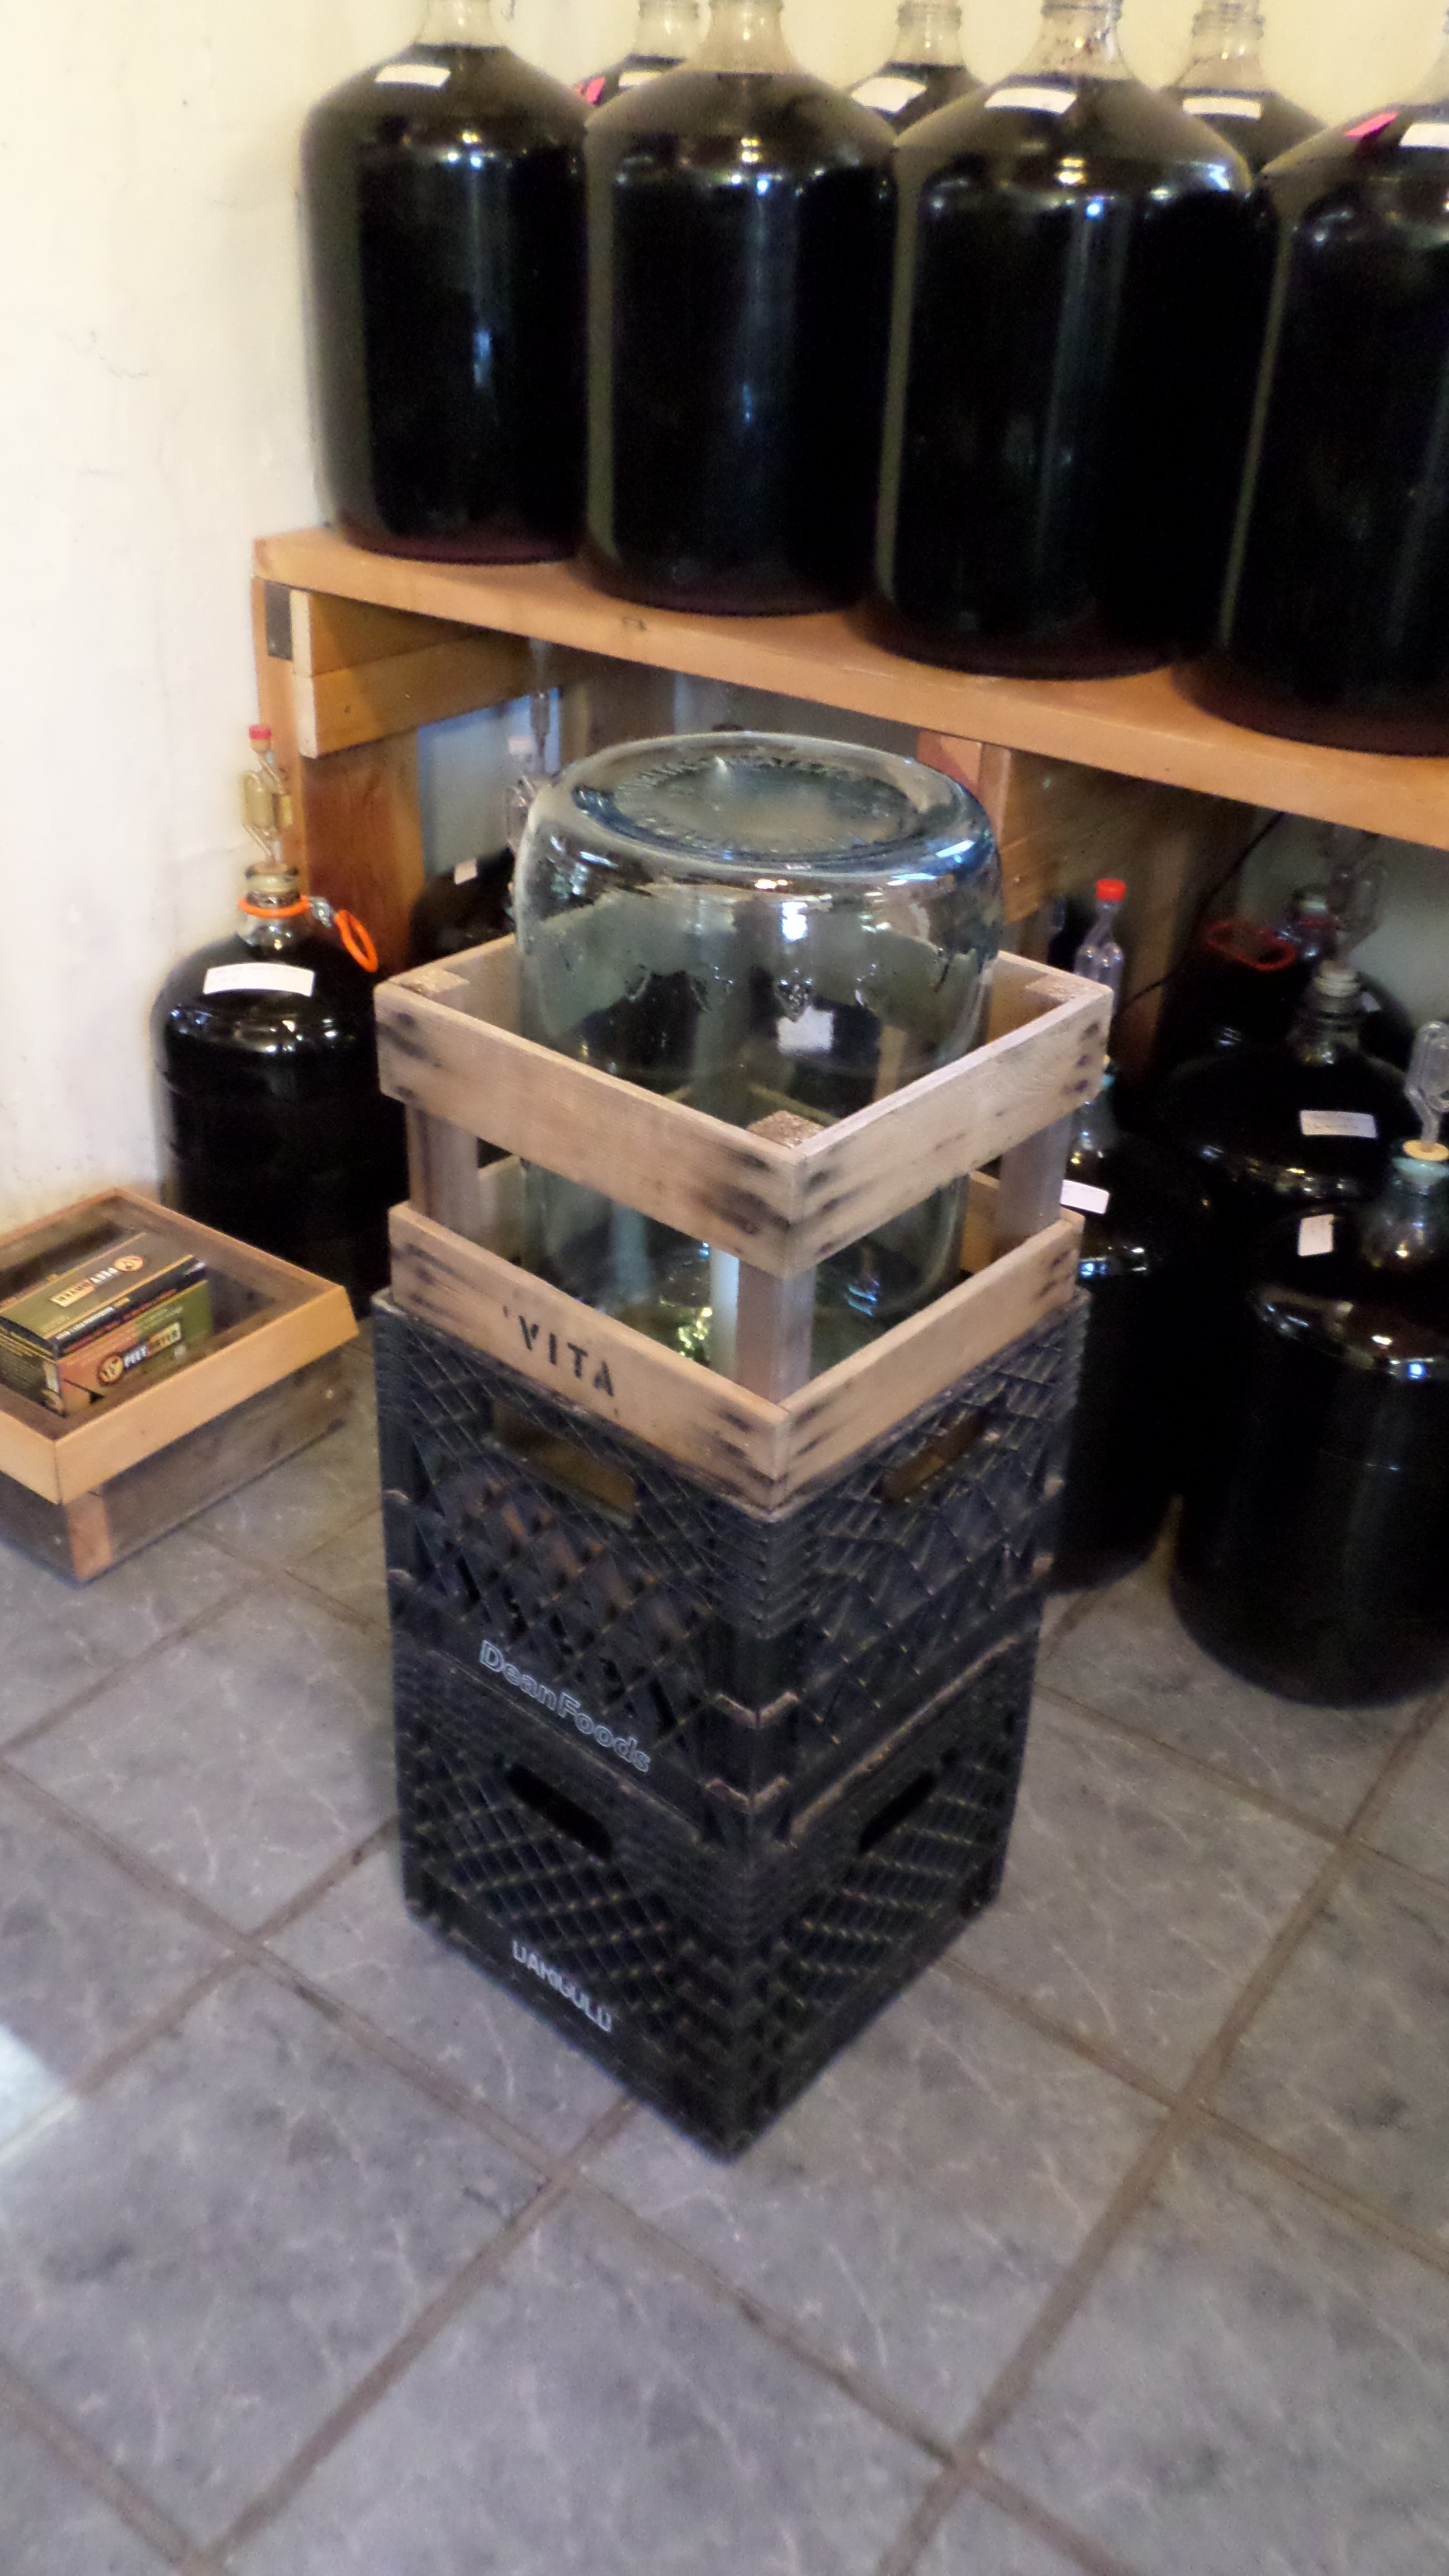
6.5 gallon carboy drying in crates separated by an insert.
lumber to lift the upper crate up around the 6.5 gallon carboy and make it more stable. I gave the insert cleats on the bottom and a collar around the top so that the milk crates would not slip out of place. That works great for these old acid jar 6.5 gallon carboys. But the smaller 5 and 6 gallon carboys are only 10″ across. They flop around in this setup.
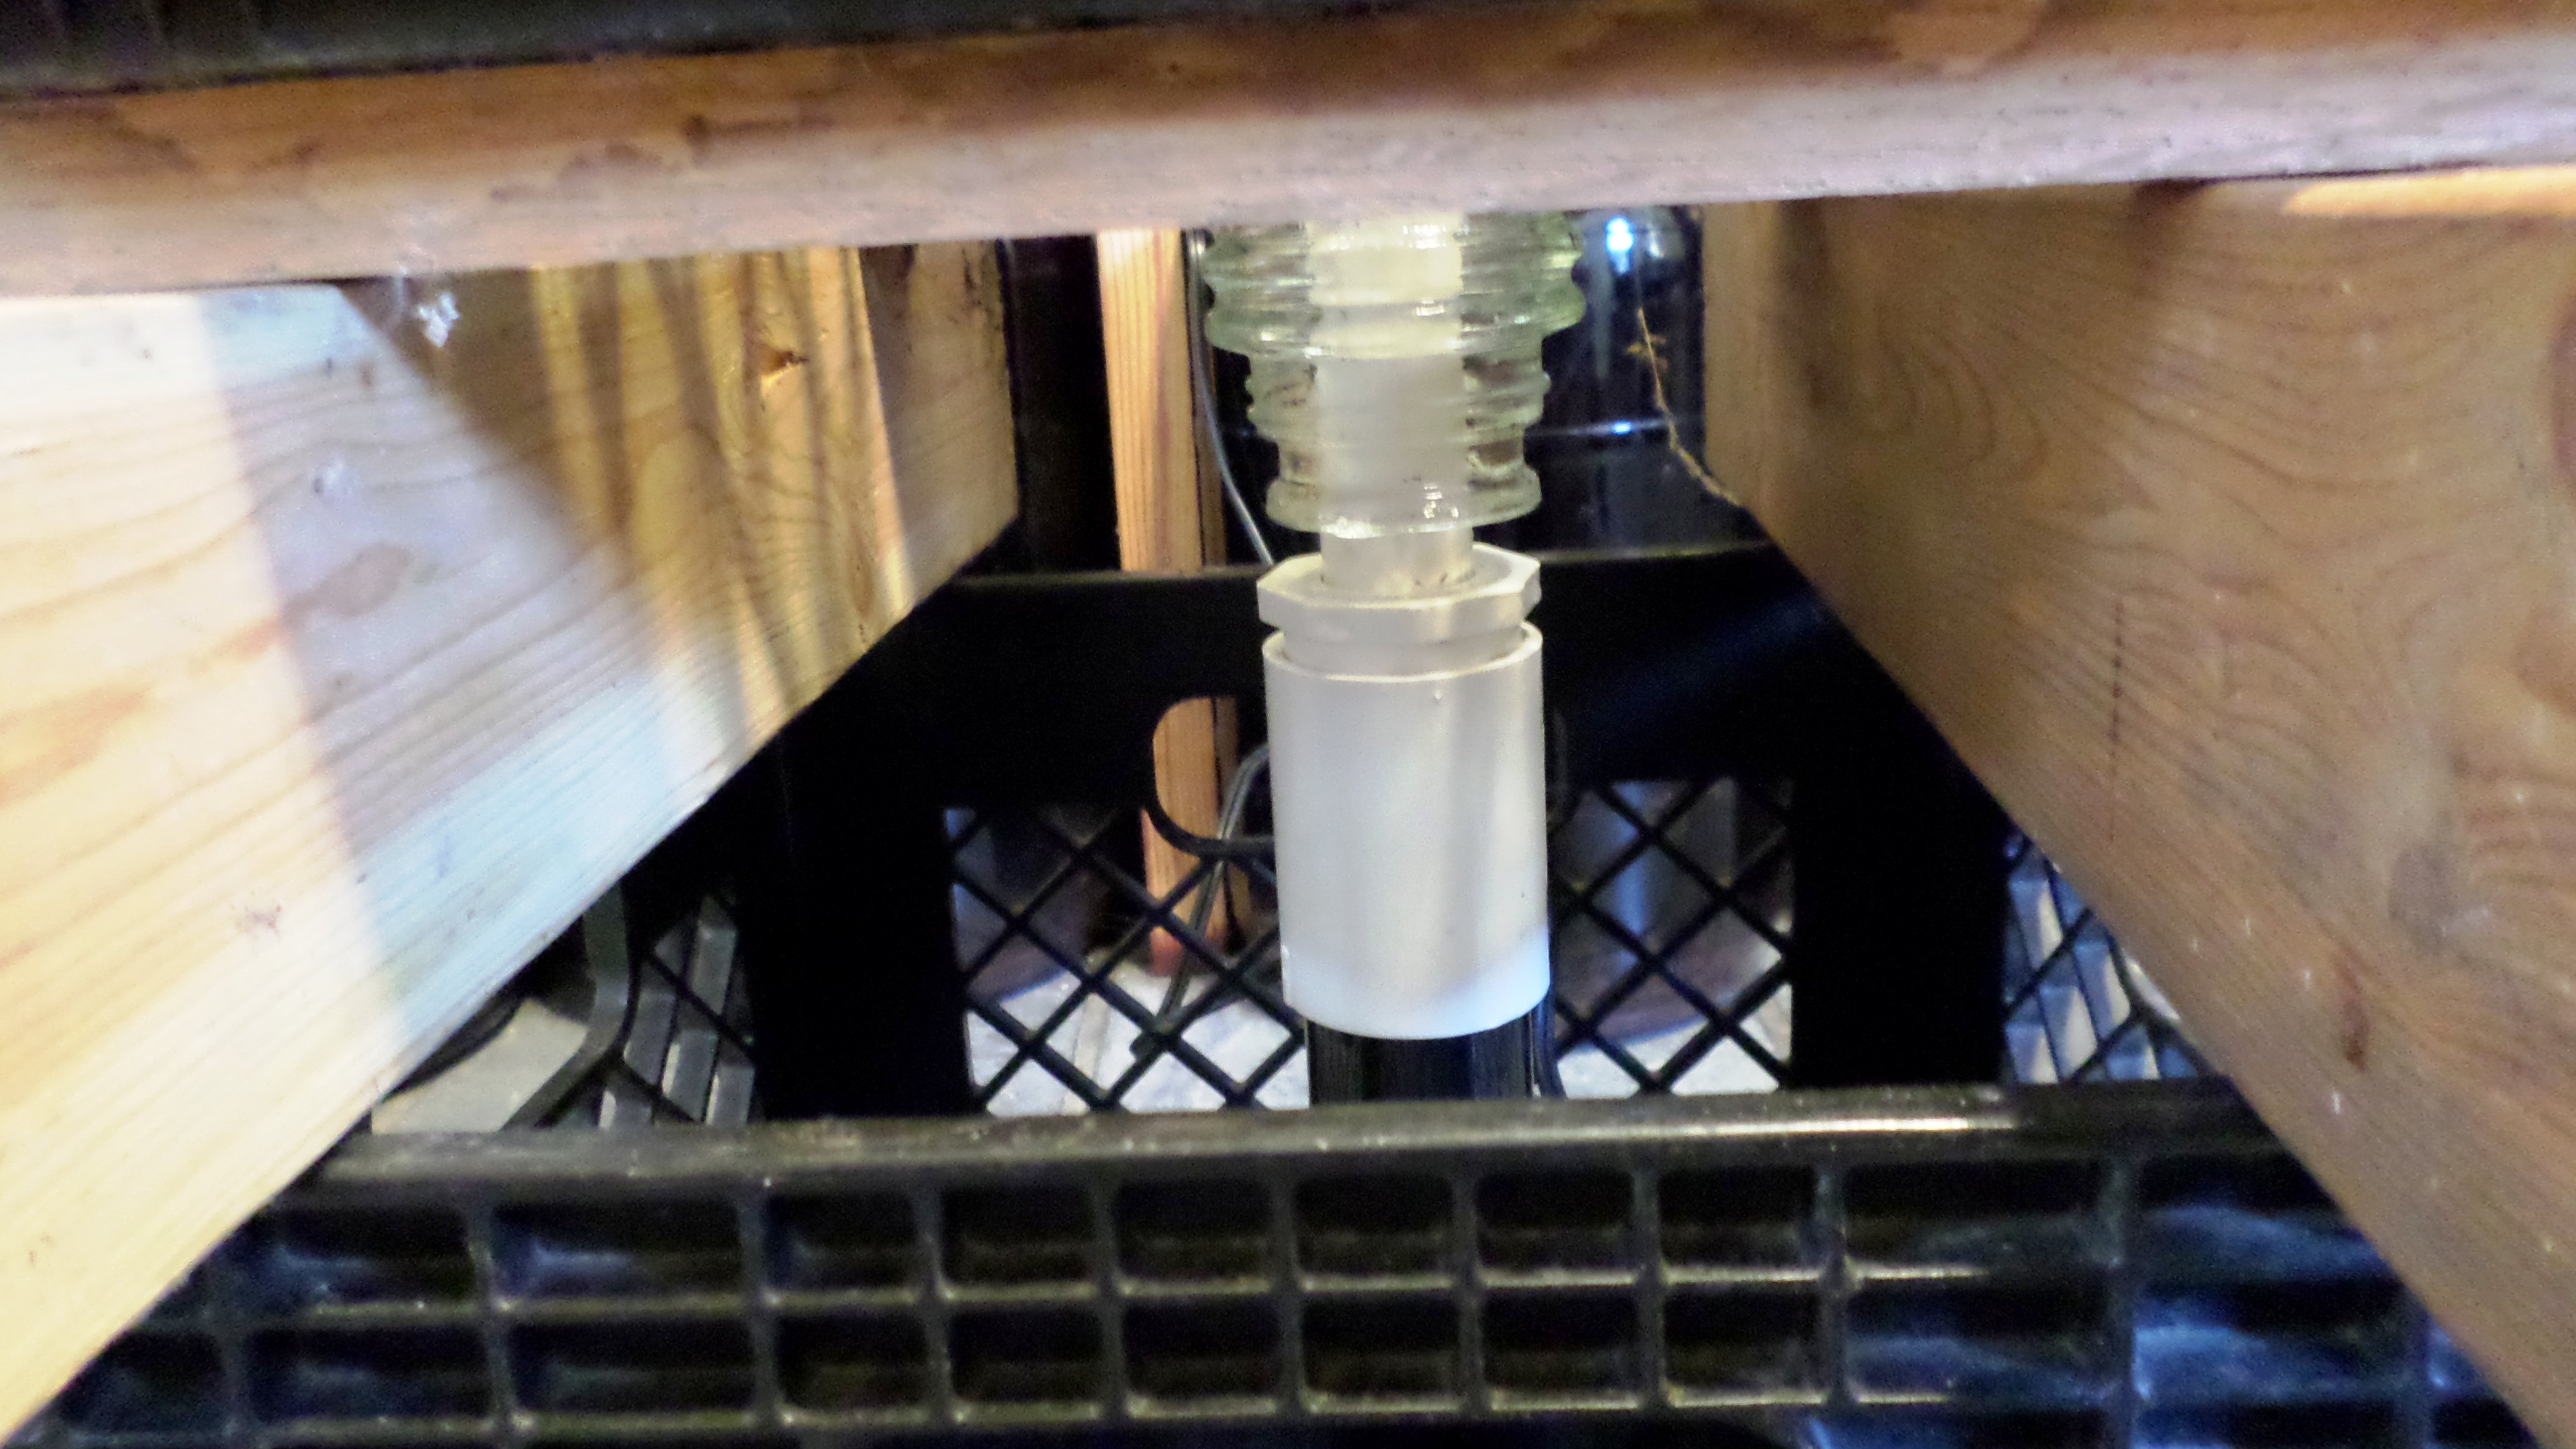
A PVC coupling modified to leave vents between the carboy and the reducer.
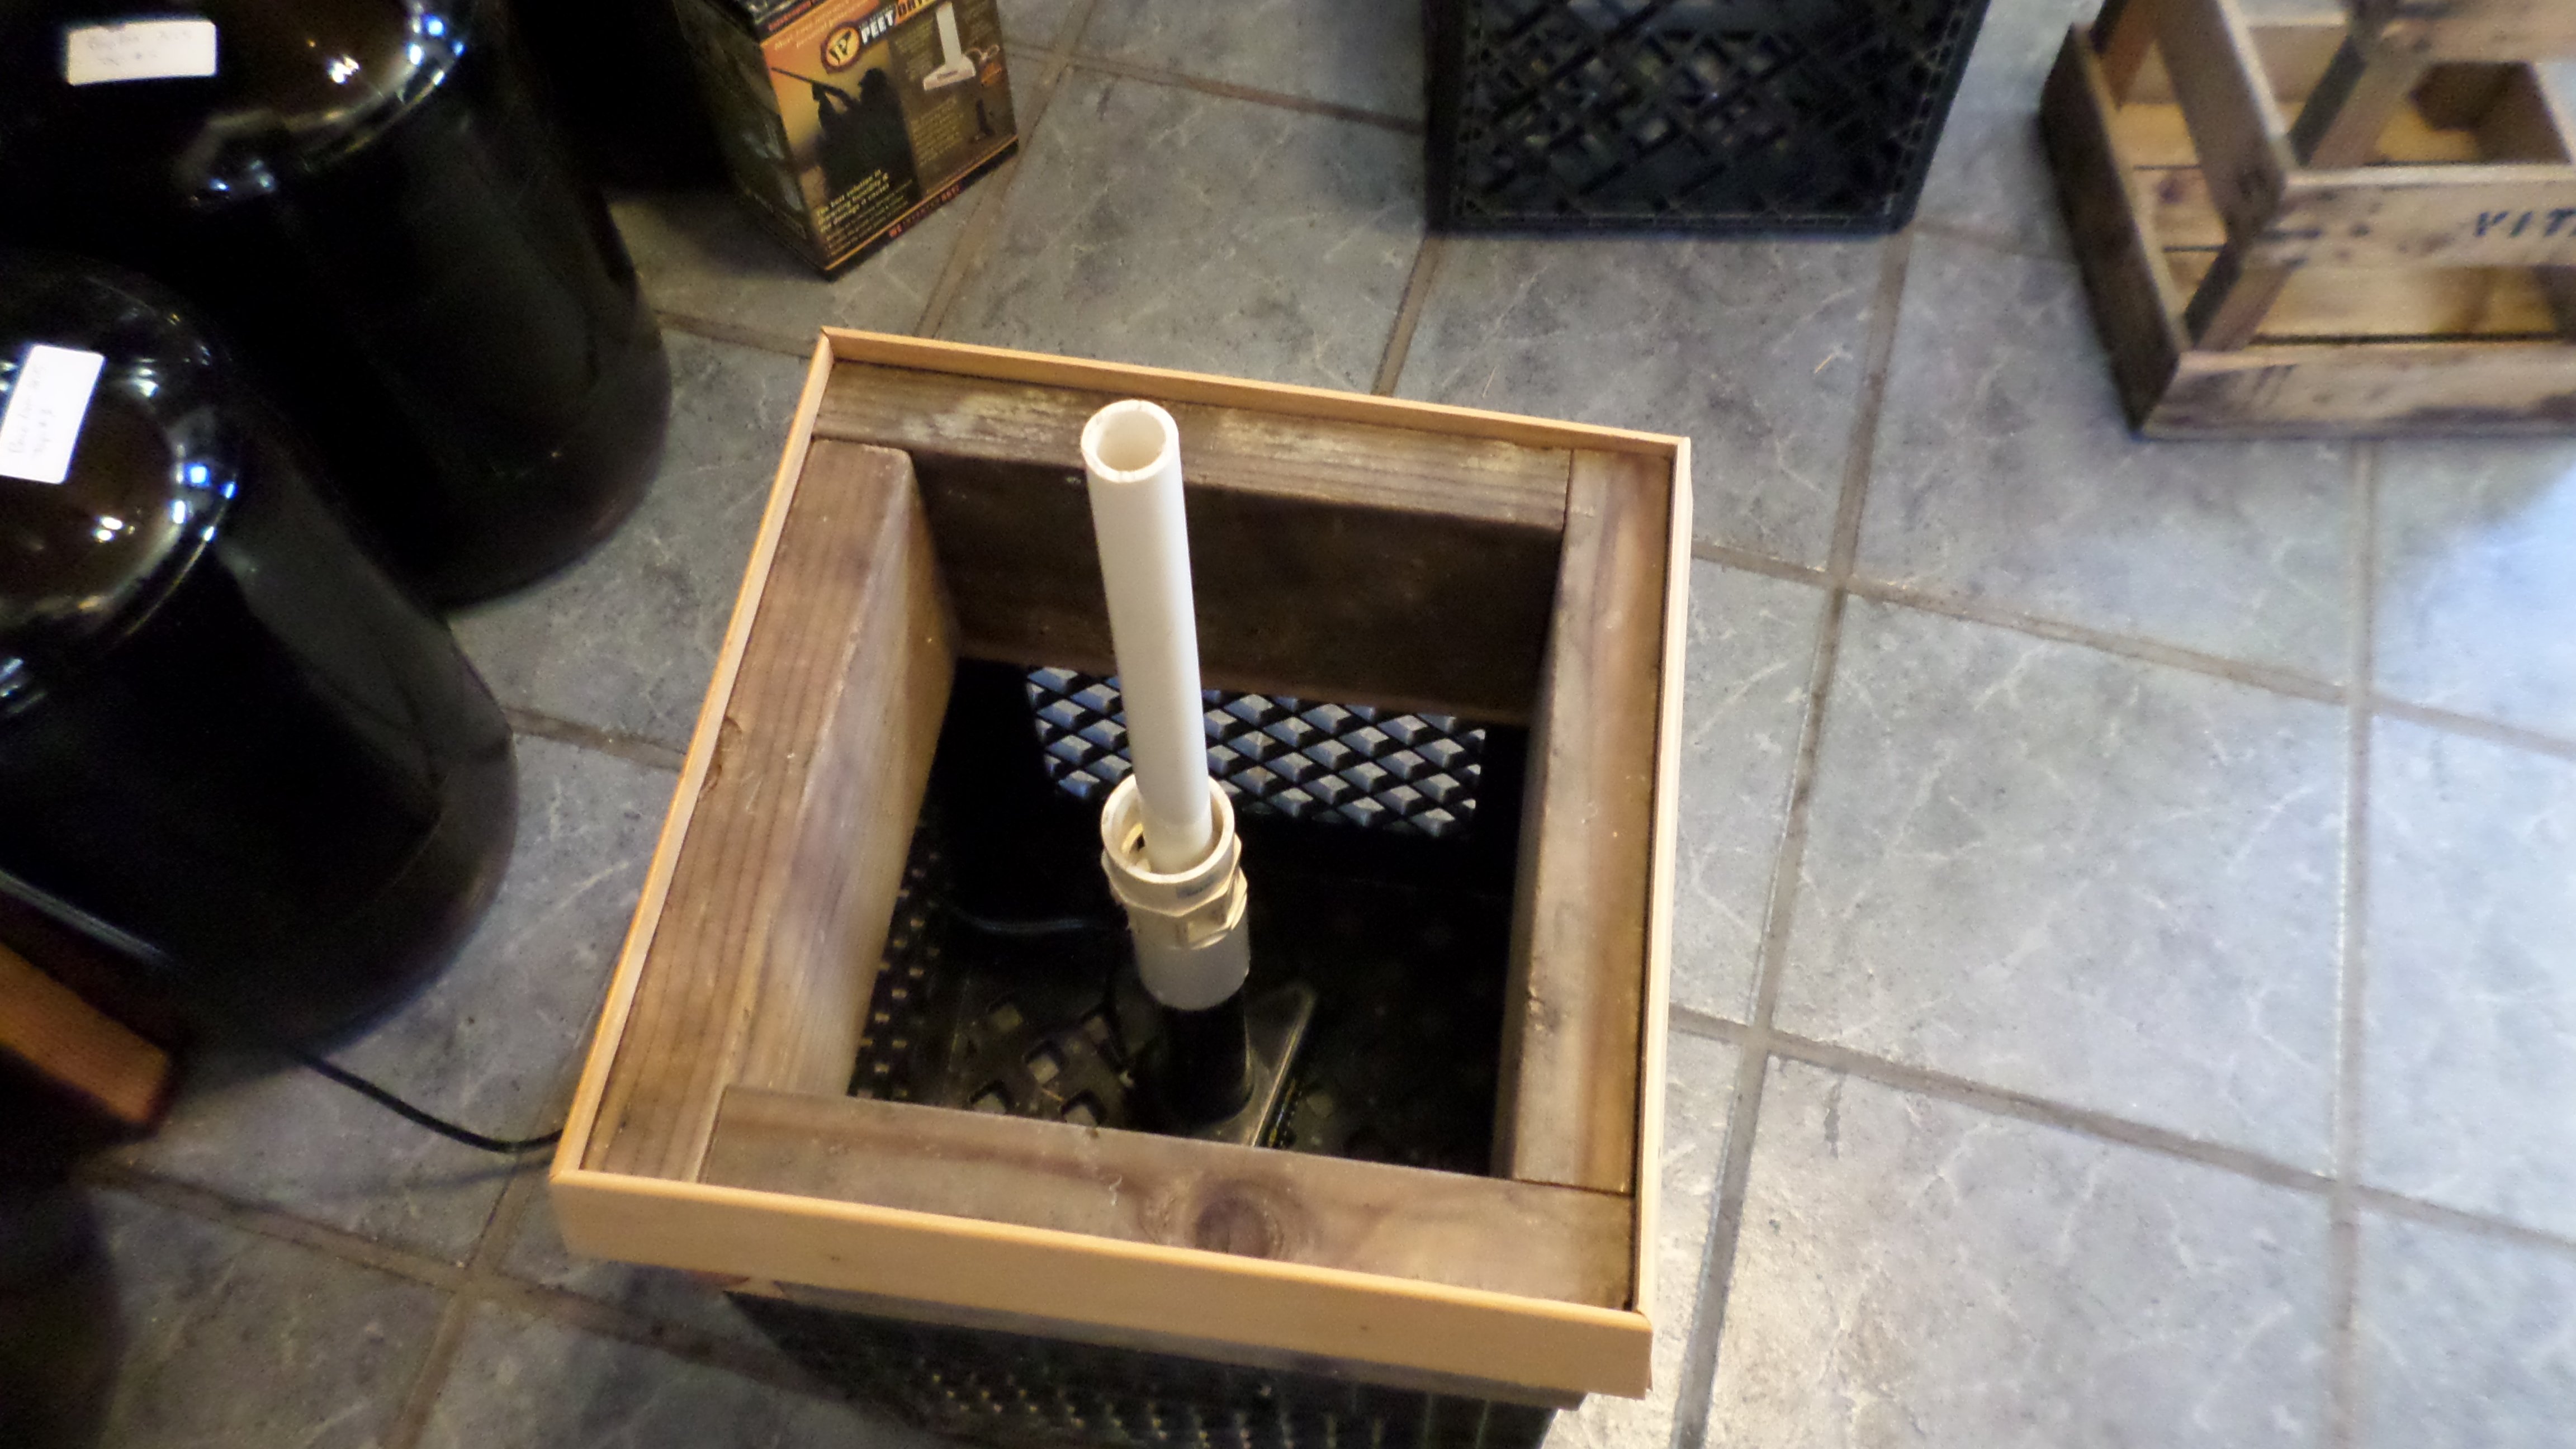
Dryer pipe sticking up through the wooden insert
Luckily, one of the 5 gallon carboys I have came with a wooden cage that is 12″ across. It fits nicely inside a plastic milk crate. With just the two milk crates without the 2×6 insert between them, I can slip the wooden cage into the upper crate and adjust it to hold a 5 gallon or 6 gallon carboy safely. A similar modification will eventually fit the 3 gallon carboys into the dryer. I’m happy as a clam and already have half of my wet carboys dry.
5 gallon carboy in wooden cage within the upper milk crate. No insert needed.