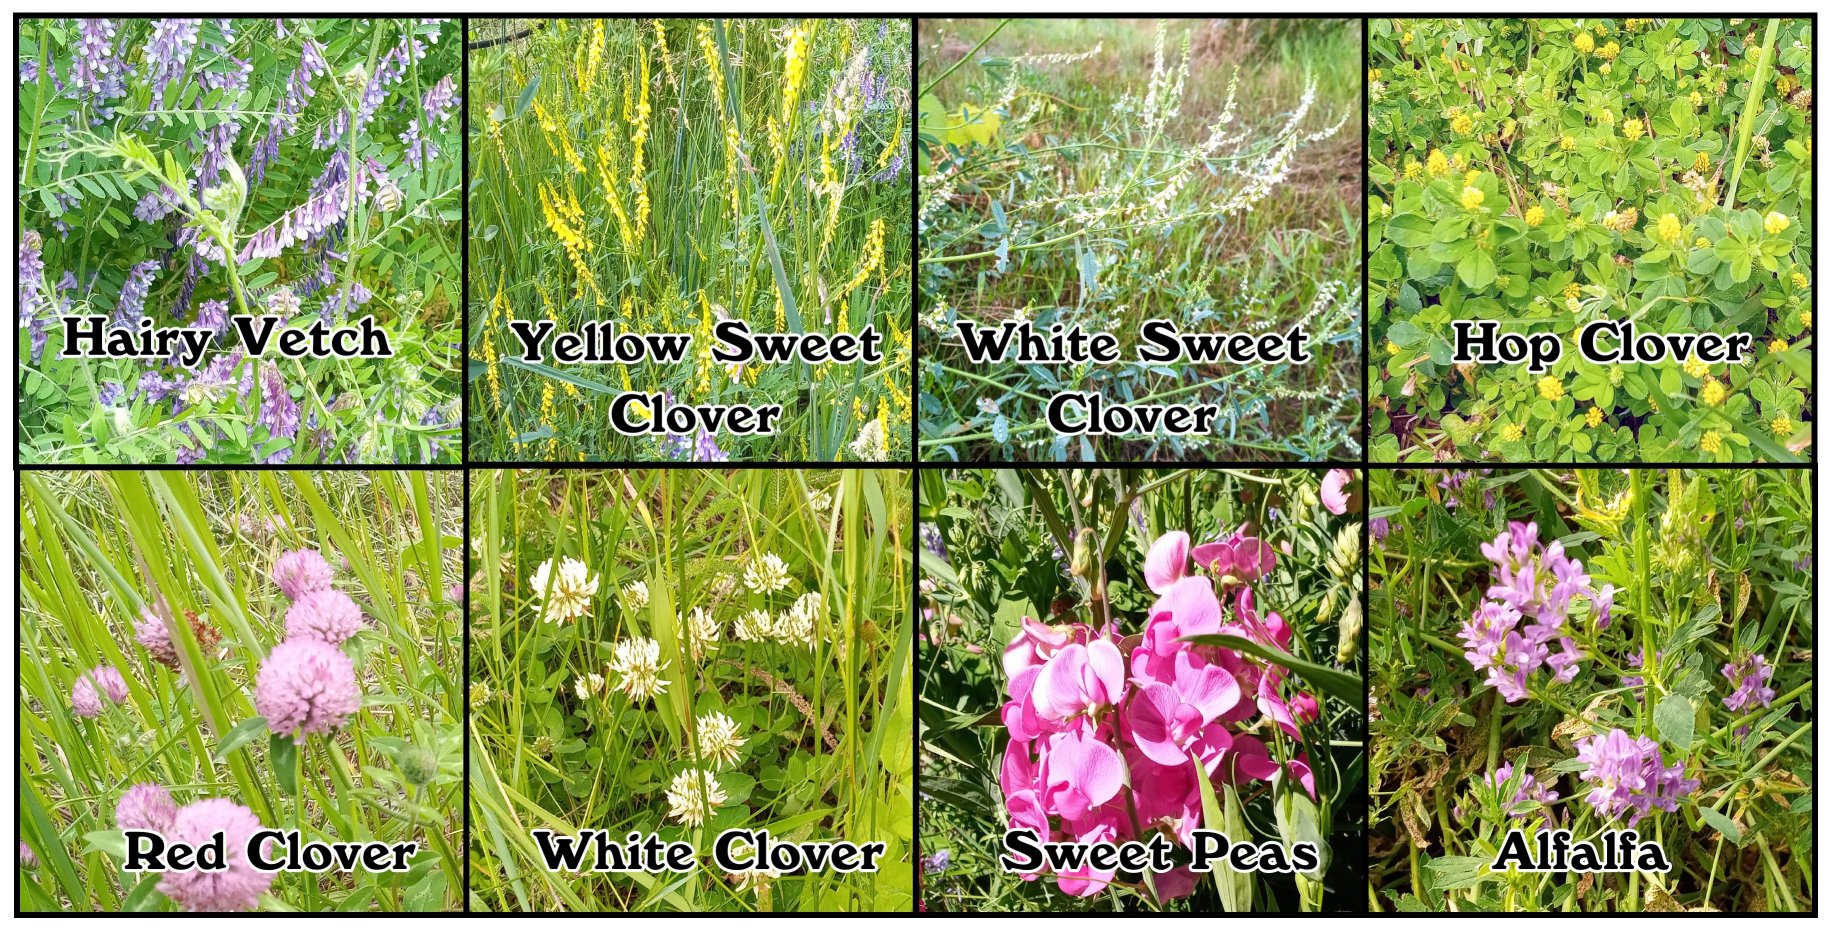
“It’s a jungle out there.” That’s what I was thinking as I prepared to cut down the vegetation between the last two rows of my vineyard. Purple Vetch was draped from one side to another. Yellow Sweet clover
grew taller than my head. My feet were tangled in everything underneath. This very wet spring has really the vegetation in overdrive. Sure, the grass was tall and green, but then I began to notice the clovers. If you are looking at the picture, you might be thinking “Whoa, those are not all clovers.” Technically you are right. They are all part of the bean family Fabaceae whose name goes back to “faba”, the name of an old bean variety (wiktionary.org). (I imagine that my father’s favorite, Fava Beans, goes back to the same word.)
Although they look different from each other, this family has a lot in common. Above ground they are all very popular with bees. At some point they are all good forage. Most but not all of the “beans” are edible. Underground they all host nodules of nitrogen-fixing bacteria. As a green manure or mulch, they all bring nitrogen into the soil from above. In concert with grass and other forbs, they very much contribute to the “jungle” effect. Each however has its own personality.
Most noticeable this year was Purple or Hairy Vetch, AKA American Vetch (Vicia Americana). It is a perennial that thrives in both dry and wet conditions. Obviously, it really likes the wet ones since it was climbing all over everything this year. That makes it very useful in reclaiming burned or disturbed land. Especially when mixed with grasses and grains, it provides good erosion control. The seed pods are edible when they are young, but the seeds themselves are poisonous when dry (sciencedirect.com). When the pods dry enough, they burst open, throwing a pair of seeds far from the original plant. I tried to figure out where “hairy” part of the name came from and almost gave up until I noticed that as the flowers are fading, they are covered in a white fuzz. This is a useful and beautiful plant when it is in its purple haze faze, but as it dries out, it a brown tangled mess.
Although it was climbing over most things, the vetch seemed to leave the Sweet Clovers alone. Not being able to resist tasting Sweet Clover, also known as Honey Clover, I found out that it is not really that sweet. After further reading I learned that the sweet part is the smell, which tested out with a wonderful perfume. Wikipedia says it grows to be 6 feet tall. Many of those in the vineyard are well over 7 feet. With up to 350,000 flowers per plant, the nectar and pollen is very attractive to bees. Beekeepers love it. Wildland ecologists don’t. Evidently it is too prolific. It shades and out-competes native plants. Also, the amount of nitrogen that it fixes into the soil changes the ecology of prairies and forests. Actually, as a farmer, I like the nitrogen and have already drastically altered the ecology. So, my only complaint is that sweet clover is too tough to mow down with a string trimmer. Back to the scythe!
Under all the other plants is a ground cover of what I can now identify as Hop Clover or more technically Black Medick or Burr Clover. I knew it was very hardy when I found it growing at a high elevation near Chesaw. I brought home some of the small black seeds. I’m not sure that is why it is everywhere now but feel that is a good thing. Wikipedia suggests that those small black seeds are edible and can be made into flour or roasted whole. (No, I have not tried that yet.) The vetch and sweet clover dry up in midsummer. But this species keeps on coming back if there is water. It doesn’t get mowed out when the regular clovers and grasses do. I love it.
Speaking of regular clover, I have two kinds, red (trifolium pratense) and white (trifolium repens). Try googling red clover and you will be swamped with ads for food, extracts, perfumes, and tinctures of the stuff. Obviously very edible and commercial, both species were imported from Europe and are now found all over the world. Virtually every browsing animal from rabbits to elk eat it, making it ideal for building “wildlife bridges” to connect fragmented habitats (Wikipedia). Ironically though, boiling is suggested before humans eat it. For an added twist, “dried white clover flowers may also be smoked as an herbal alternative to tobacco” (more Wikipedia). Bees love it too. Truthfully, it has a hard time competing with the taller plants. It grows commercially in open fields.
When it comes to open fields, nothing outdoes alfalfa (AKA Lucerne). This is an ancient forage crop grown around the world. “Pliny and Palladius called alfalfa in Latin medica, a name that referred to the Medes, a people who lived in ancient Iran.” It is a perennial crop that is sure to bring great prices per ton after this very wet spring. There are a few patches here and there on our farm, probably from hay used as mulch over the years. Although generally a good crop, too much alfalfa can be bad for horses and cause bloat in cows (horseracingsense.com). In humans, it’s often eaten as a garnish, and seems to prevent cholesterol absorption in the stomach (webmd.com). Weirdly, alfalfa exhibits autotoxicity, which means that it is difficult for alfalfa seed to grow in existing stands of alfalfa. But we seem to be getting pretty far afield here (pun intended).
The final species in this octet of Fabaceae is Sweet Peas, Lathyrus odoratus. A native of Sicily (You have to love that!), the seeds of Sweet Pea can be toxic if eaten in quantity. I did eat a young pod. It didn’t taste either good or bad and I didn’t get sick. Despite the “odoratus” part, it doesn’t smell particularly strong either. I gathered seed from the roadside years ago and now it seems to spring up wherever it wants. Maybe I was following in the footsteps of Gregor Mendel, the “Father of Modern Genetics”, who used it to pioneer crossbreeding. But more likely I was imitating generations of other isn’t-that-pretty wild seed gatherers who inadvertently spread invasive species around the world. It really is a jungle out there.
With this very wet Spring everything looks especially green. The green color is from chlorophyll, the molecule critical to photosynthesis, which turns sunlight into plant energy, specifically sugars. Looking at the chest-high grass and purple vetch which has taken over the aisles between my rows of grape vines, I had to envy those farmers who could make great use of this abundance by running cattle or sheep on it. I needed to cut it before it completely took over the vineyard so I could get in to do thinning and other operations on the grape plants. That green colored chlorophyll is rich in nitrogen, the fertilizer most often added to commercial fields. Nitrogen turns a field’s color to a darker green. It does not necessarily mean that the crop is more nutritious. But to me this naturally rich green indicates high food value.
Not one to let that much nutrition go unused, I began thinking about its potential. I remembered a neighbor we had when I was young. He threw grass clippings over the bank behind his house and added a lot of coffee grounds to them. That seemed strange to me at the time and I asked his kids about it. They told me that their dad was an avid fisherman and that the grass clippings and coffee propagated earth worms, probably night crawlers that he used as bait.
I have been building compost piles in old apple bins with the bottoms removed. Before I started using the bins, wild turkeys would tear apart my compost piles looking for worms, seeds or whatever bugs they could eat. This was a big mess that I tried to prevent by covering the pile with wire mesh fencing. Having the big compost pile served two purposes. I wanted the compost and I wanted to have a place that worms could live during the winter without freezing.
It worked. Now that there is plenty of warmth and water, the compost bins have taken on new life. Mushrooms sprout from the top. Worms show up underneath. Deer browse on squash growing over the sides. Deep inside the temperature is 120° F. That is too hot for worms. But they move to the sides and around the hot spots. A worm’s digestive track is like a chicken’s gizzard. Both need grit to grind up food. Worms also really like mushy food. So a combination of food that will rot, dirt that has grit and sawdust or straw that has cellulose which is easy to crawl through works well for them.
Looking at the green grass and thinking about how it can enrich the soil I face a number of tradeoffs. Contrary to intuition, grass really gets healthier if it is eaten or cut. Grass has a huge root system compared to most plants. In the “wild” it gets eaten, digested and turned into manure and urine, essential fertilizers. Animals trample it, working those fertilizers into the soil and providing bare ground for new seeds. That way clover and other forbs can grow providing food for bees above ground and nitrogen fixation underground. The grass springs back from its huge root system. The prairie lives on and the grass really is greener.
But that system depends on animals rotating in briefly to make it all work. If I cut it, I need to take it away or leave it in place. If I take it to a compost pile, it can rot and feed the worms. But then I need to move the compost plus worms back to the vineyard which is a lot of work. Left on the ground, the nutrients could leach out, dry out or just degrade in the sunlight, I needed some advice. Since these were questions that people who make hay face all the time, I talked to friends with livestock about the nutrition in hay.
You would think that the nutrition in hay is just “cut and dried”, so to speak. It’s not. There are early grasses and late ones, alfalfa can be good for cows and bad for horses. There are early grasses and late ones. You might prefer the seed heads almost formed for more protein or green leaves and flowers, dry and still green. Even just looking at hay doesn’t tell you everything. The same crop cut late in the day will have more carbohydrates than when cut in the morning. But with a short window to get it dried in the field, you might want to cut early. Then there is silage, which adds nutrition during fermentation but needs expensive equipment. So much for “cut and dried”.
There is a history of using animals in vineyards. Sheep, goats, geese and cows have all worked to some extent. One viticulturist, Kelly Mulville, found that by raising his trellis out of the reach of sheep and running them through the vineyard when the grass was up, he could eliminate the tractor labor mowing grass and the hand labor of removing suckers from the vines. At the same time the biodiversity in his vineyard multiplied many fold and production was as good as or better than ever. The same is no doubt true in orchards.
Short of reworking my vineyard for sheep, falling back on doing my own testing and experimentation, seems like the best practice moving forward. Sap testing shows that the grass is fairly sweet right now and the vetch is nearly as sweet though definitely juicier. I will compost some of both and leave the mulch in some rows. Time will tell which works out the best and where the grass really is greener.
More important than wine for this website is that it displays blog posts about regenerative agriculture and personal posts about our life here. The latest is on top and a topic index is on the left site of the page. A printed compilation of articles, Nurturing Abundance, is also available from this website.
When I was much younger I thought about becoming a writer. But I realized that if I had in mind to write about everything that I experienced it would be like a huge version of “Kiss and Tell”. Not wanting to contaminate my life with ulterior motives, I backed off from writing hoping some day to be older and know something. Well, now I am older and every time I think I know something, I’m sure that there is a lot more to learn. One thing I am certain of is that if I don’t write stuff down at least for myself, it fades into a blur. With that in mind, I am recounting things that I did write down for the “record”. In keeping with the blur theme, I won’t dwell on them.
It was a colder-than-usual winter and that seems to have carried over into the spring. One odd advantage was that I was able to get close-up pictures of snowflakes and learn more about them.
A tough lesson was that circuit breakers wear out after 25 years. Water heaters in the office started to trip the main breaker more and more often, leaving the whole office without power and me with fewer hot showers until I figured that out.
There are a lot of taxes and related reports for businesses in general and wineries in particular. The clincher was that the annual IRS Income Tax software that I use stopped working on Windows 7. I ended up buying a whole new laptop mostly to support newer software.
I finally assembled all the articles I wrote on regenerative agriculture into one book, Nurturing Abundance. Of course now the trick is to keep updating it as I write new stuff. Full disclosure, I’m behind on that now.
Cheryl convinced me to get hearing aids. That also involved removing ear wax first and getting a replacement hearing aid after I lost one removing a face mask in a parking lot and didn’t realize it until too late.
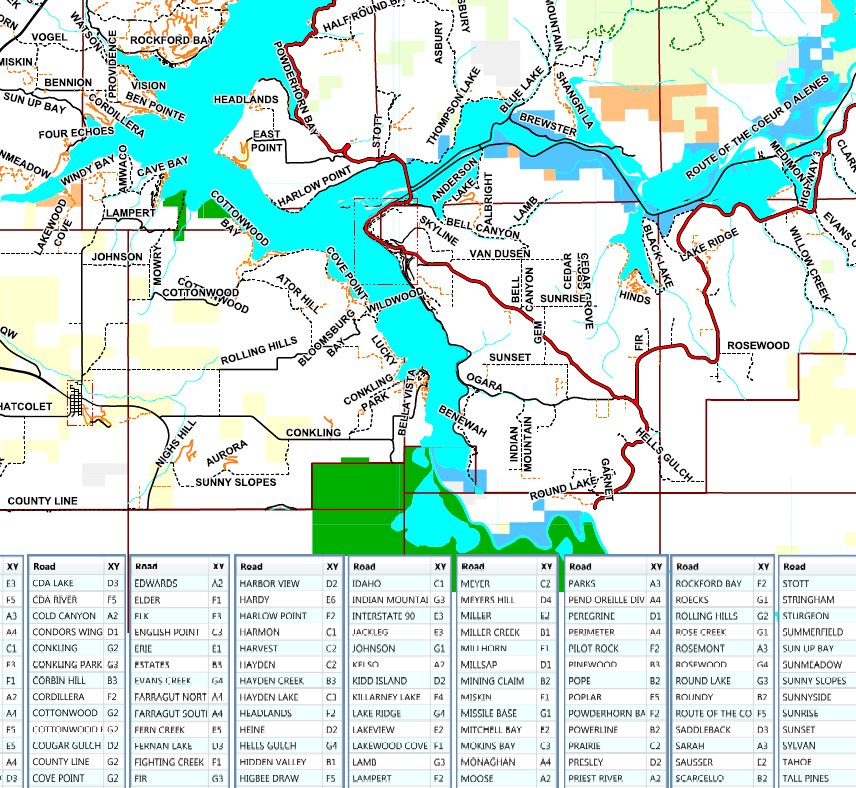
There is a tremendous amount of real estate activity in Kootenai County, Idaho. Realtors there ordered a folding map of the county that includes two big metropolitan areas, Coeur d’Alene and Post Falls. I did not have mapping data for either one but now I do and have been working on that map for months.
The Panorama Gem and Mineral Club held its first in-person annual Rock Show in a couple of years this spring. It was a big financial success for Map Metrics and geologic atlases, but hard on my voice and throat, taking weeks of recovery.
With the snow finally gone, the Heritage Network is holding in-person meetings. In my position as president and head of the project to commemorate the 200th anniversary of the establishment of Hudson’s Bay Fort Colvile, THN is taking up a lot of time. It also has led to some life changing lessons. I encourage you to read my article about the culture wars that this involves, A River People.
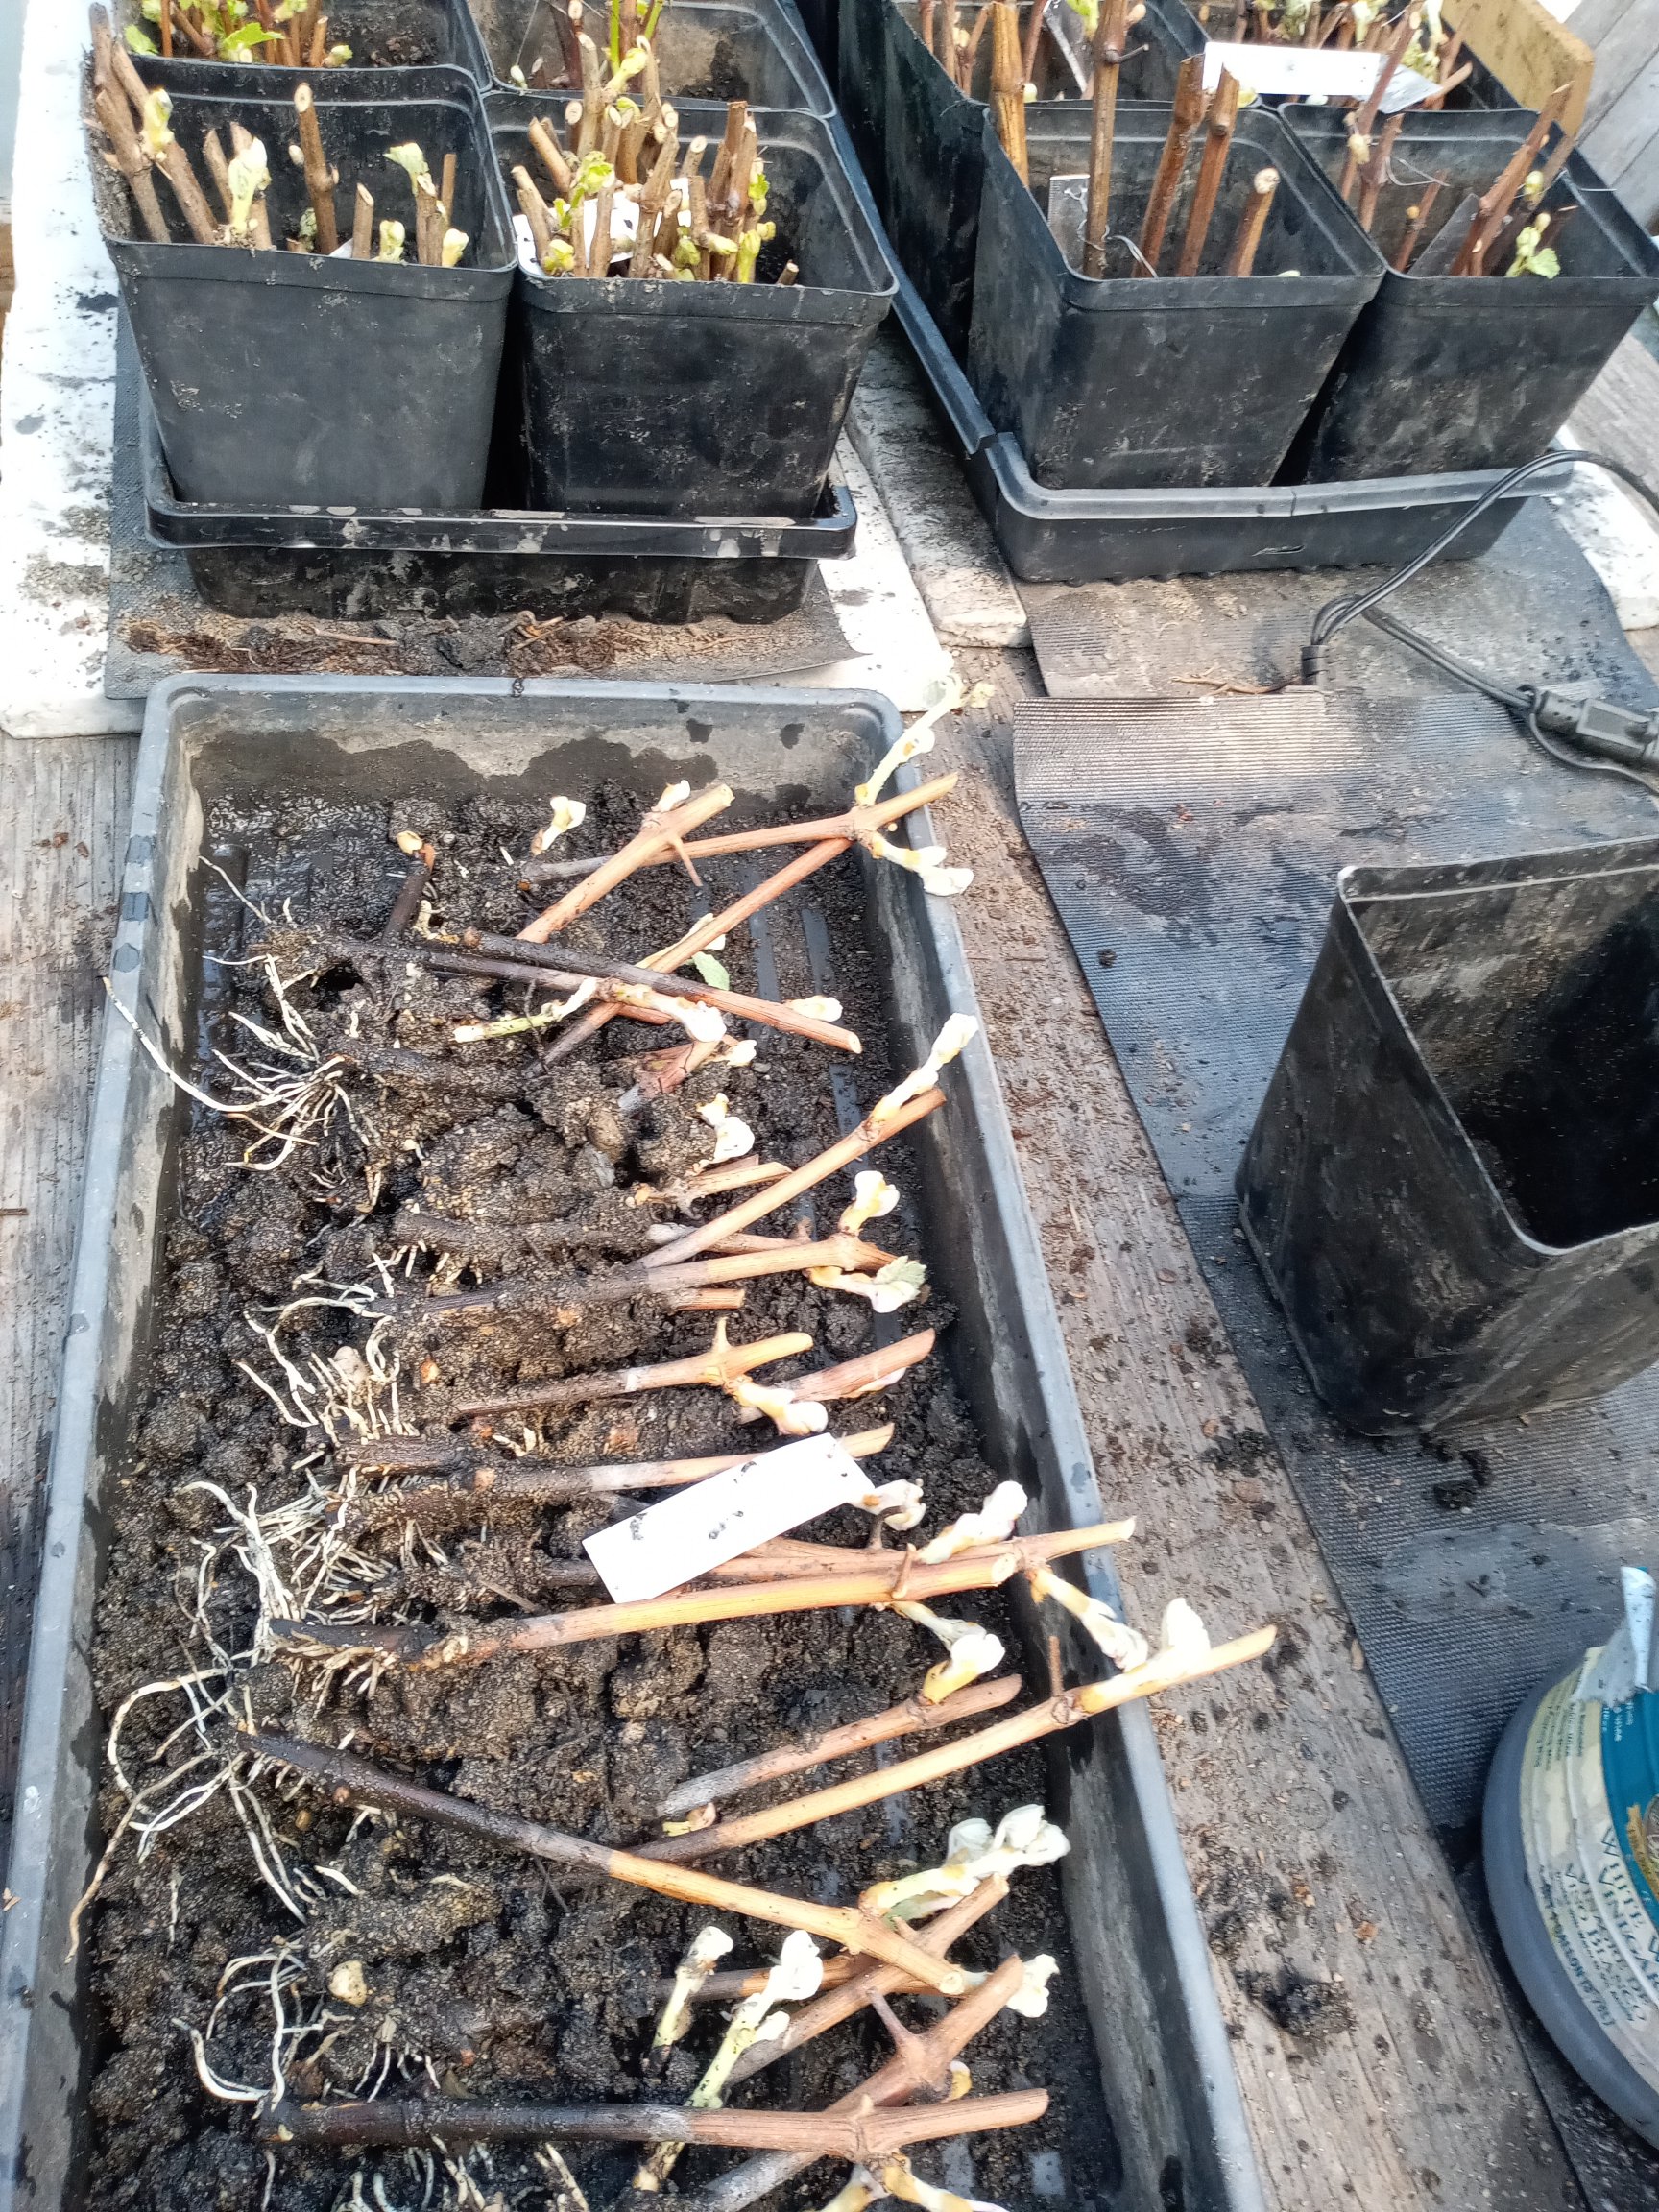
The vineyard demands a lot of attention in the spring, first pruning last year’s canes, which also involves shredding them and adding to the compost pile. It also ushers in a need to root hundreds of cuttings for the Northeastern Washington Grape plant business.
As the cuttings get roots, they need potting soil made mostly from compost. Compost is also being spread in the vineyard to replenish the soil there. Making and spreading compost will go on until the snow falls again.
My daughter, April, invited me to be a judge at the science fair she manages teaching science at the Curlew School. That was fun and I eventually wrote another article about citizen science which included lessons from the fair, How Sweet It Is.
Another spring event is the return of making biochar. I made some with snow still on the ground for my own use. But orders are backlogged now for substantial amounts. It takes parts of 3 days to make a batch; one to get the wood; another to start aerobic compost tea going and doing the actual burn; a third to inoculate it with the compost tea, shred and bag it.
We did get to party a little; went to a Santana concert in Spokane on April 3rd and the next day went to combined birthday parties for daughter April and grandson James.
Speaking of family, we got to meet with my sister Anita and her friend, Francie, as they did a fast road trip through Northeast Washington, signaling an end to the lockdown.
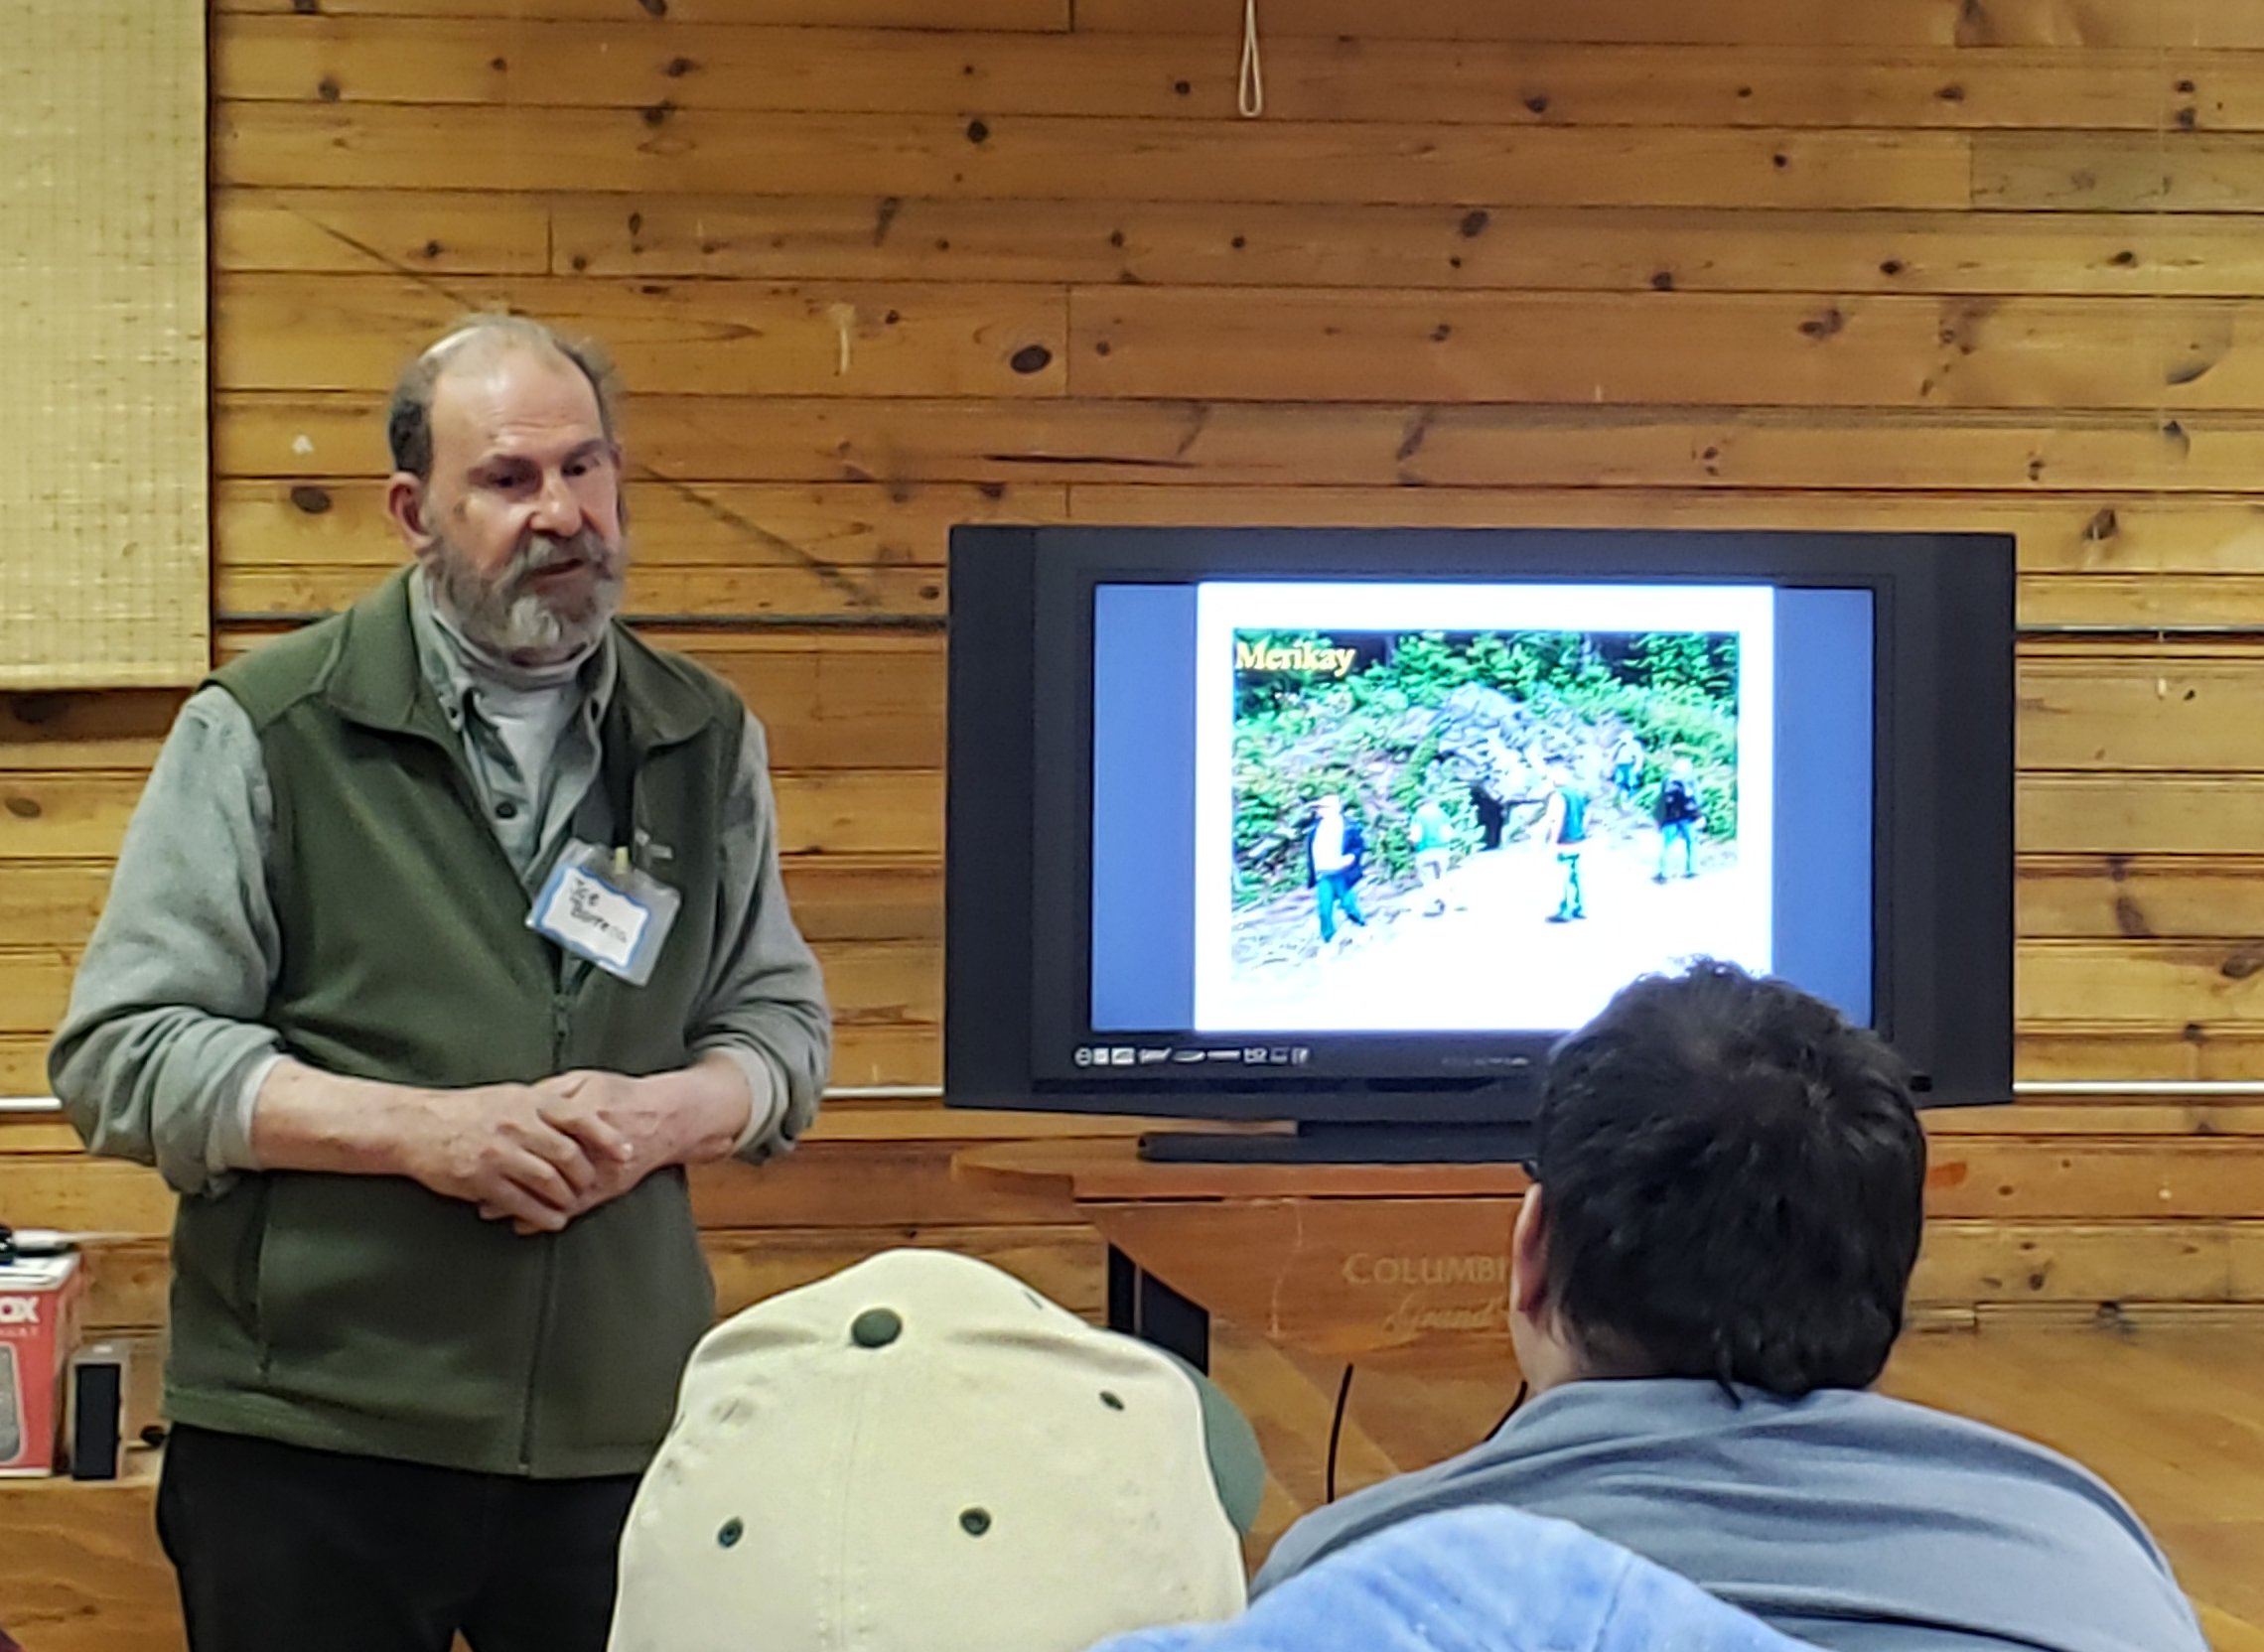
The rock club has a lot of new members. So I volunteered to give a presentation on many of the places we went to collect rocks in years past. I also wrote an article on Earths Treasures for other local rockhounds.
Cheryl has plants growing under lights in the house. It may stop frosting at night by the middle of May. That will usher in even more spring chores.
There were a lot of repairs and maintenance along the way to keep these things going; new headlight bulbs for my car; continuing printer repairs and replacements; computer backups and restorations; and some more maintenance for Cheryl’s back.
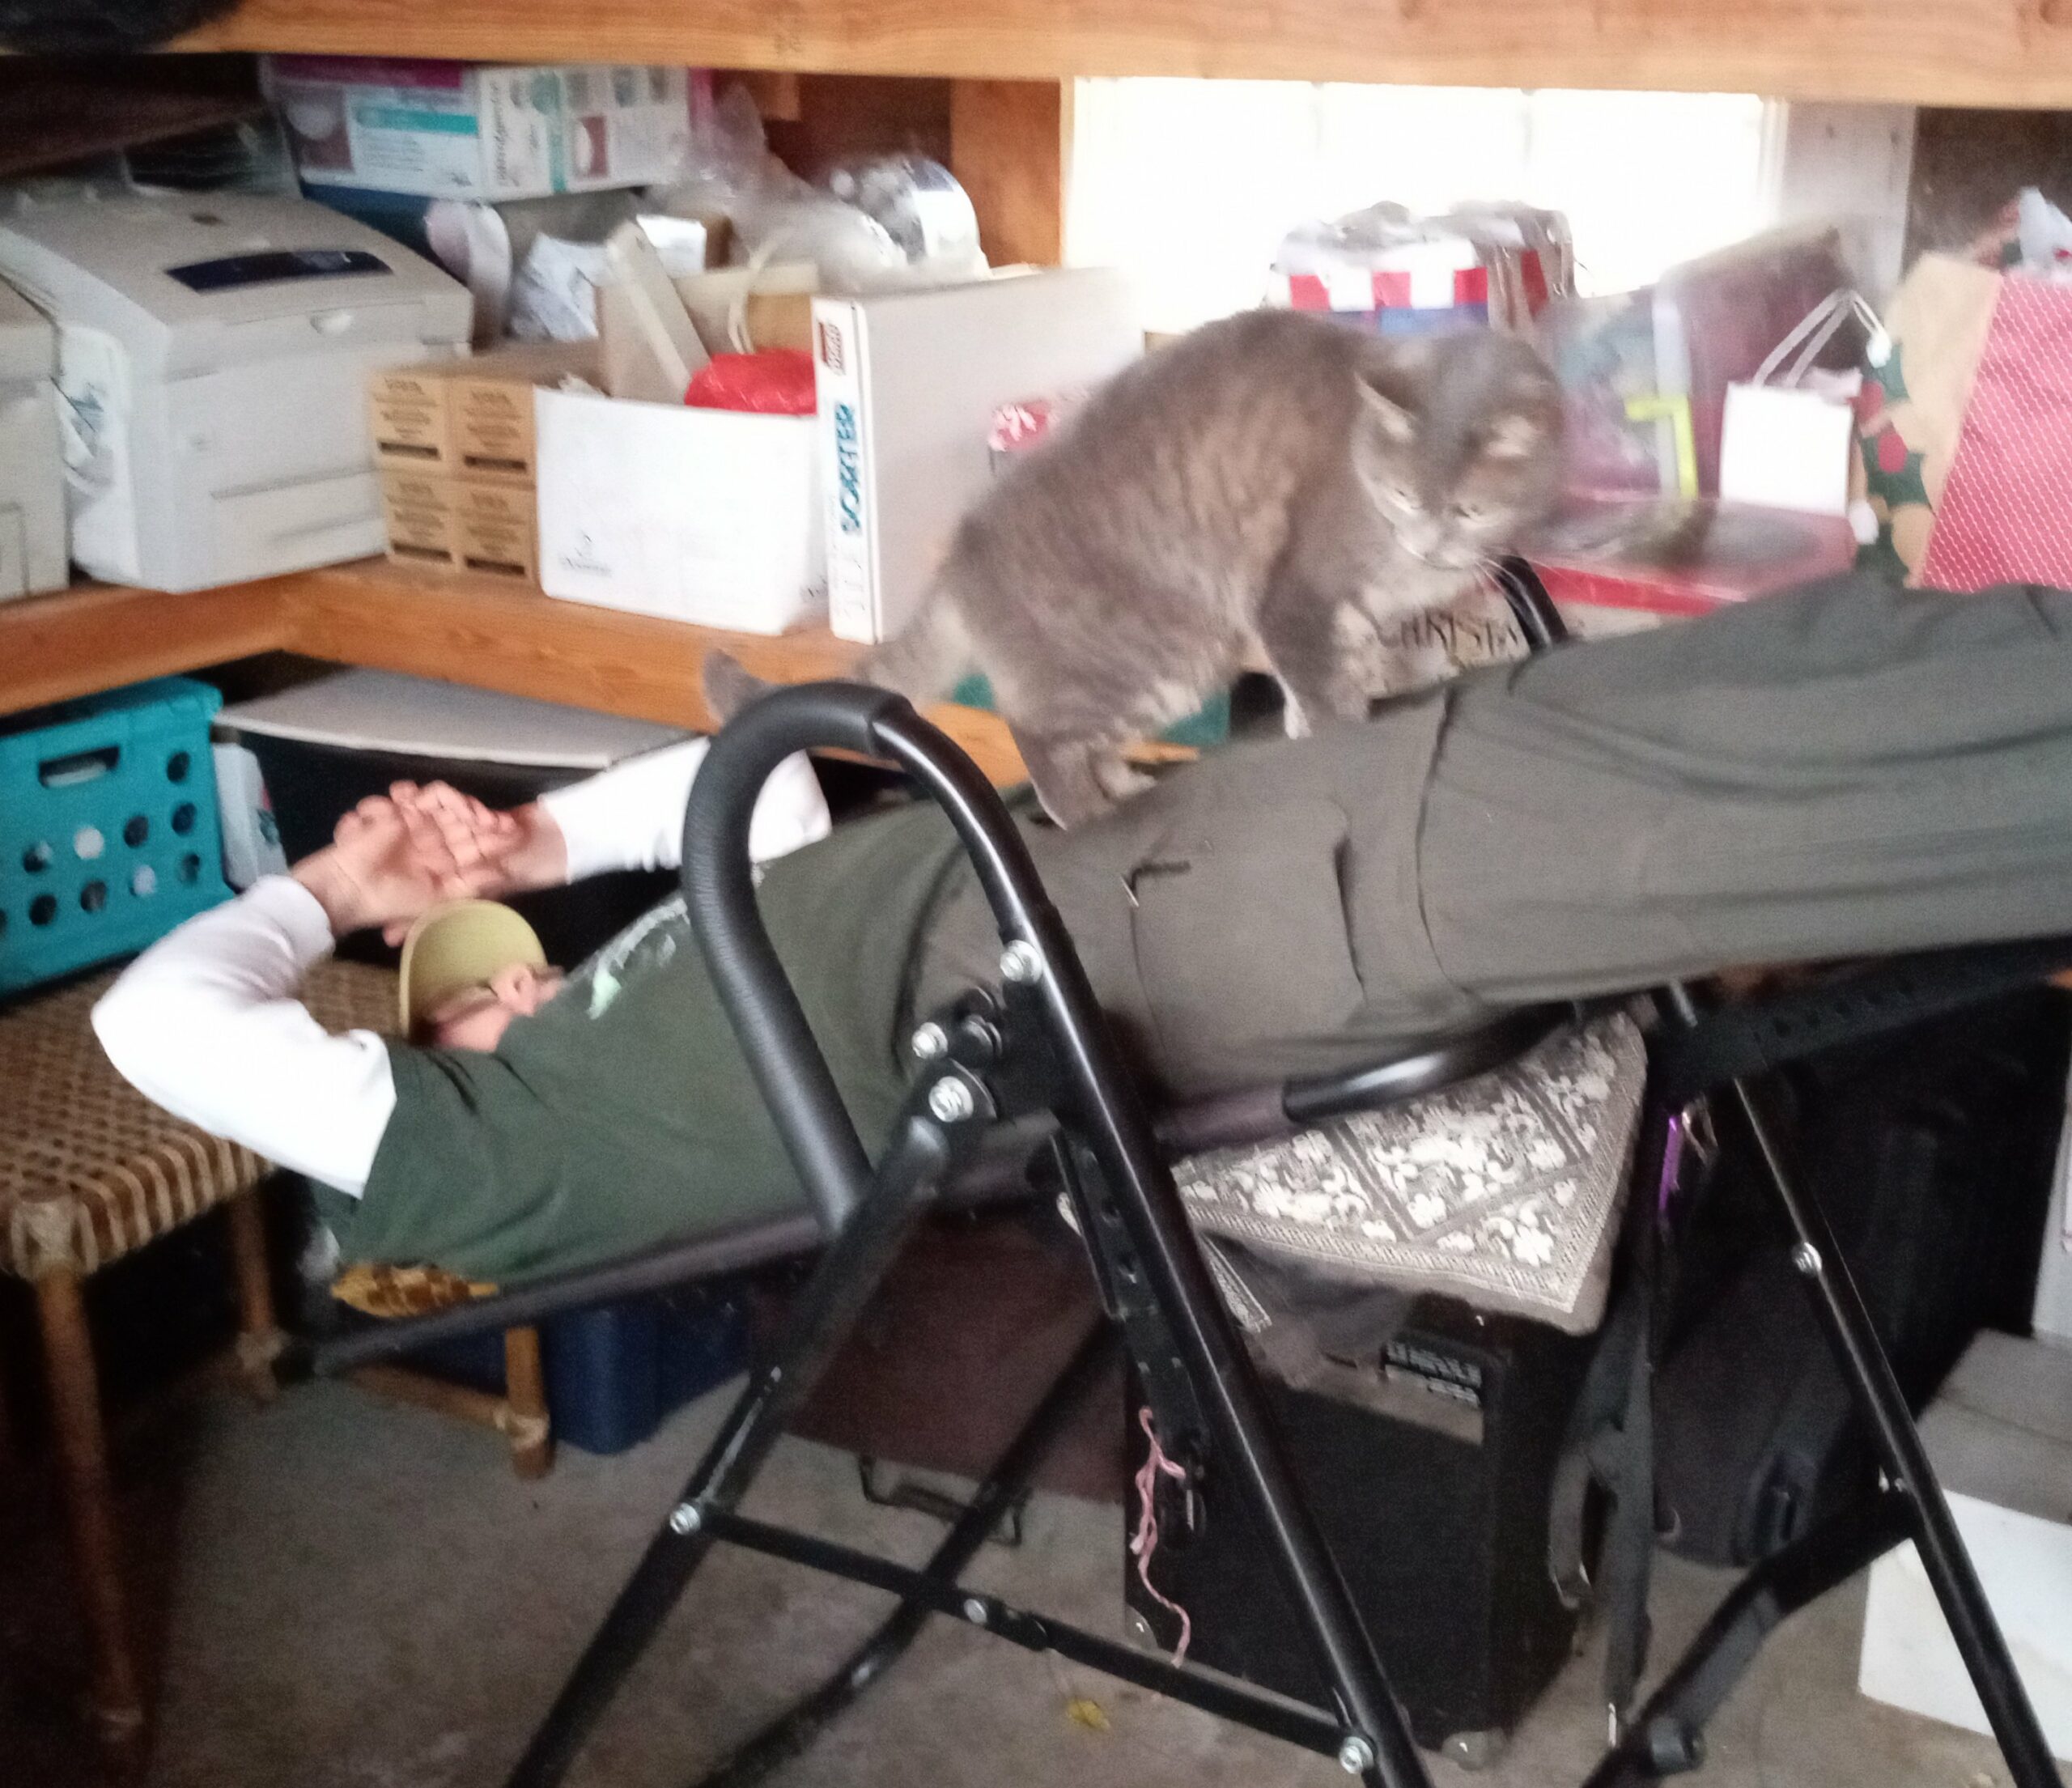
Inversion Table plus cat
Enough already. It’s not like we don’t have anything to do.
The quest for evidence-based information is ongoing. So are the efforts to dismiss it. As Yuval Noah Harari pointed out, science is based on the admission of ignorance. With science, as soon as you think you know something new, other scientists are going to poke holes in your ideas and try the same things to see if they work all of the time. It is an uncomfortable way to proceed. But it has given us all the major changes of the last 200 years.
So scientific methods are now taught in school. I was given the chance to see how that works while volunteering to be a science fair judge at Curlew School near the end of March. (Full disclosure, my daughter, April, teaches science in Curlew and pretty-much volunteered me and many other friends.) Each student displayed their project on little countertop cardboard kiosks.
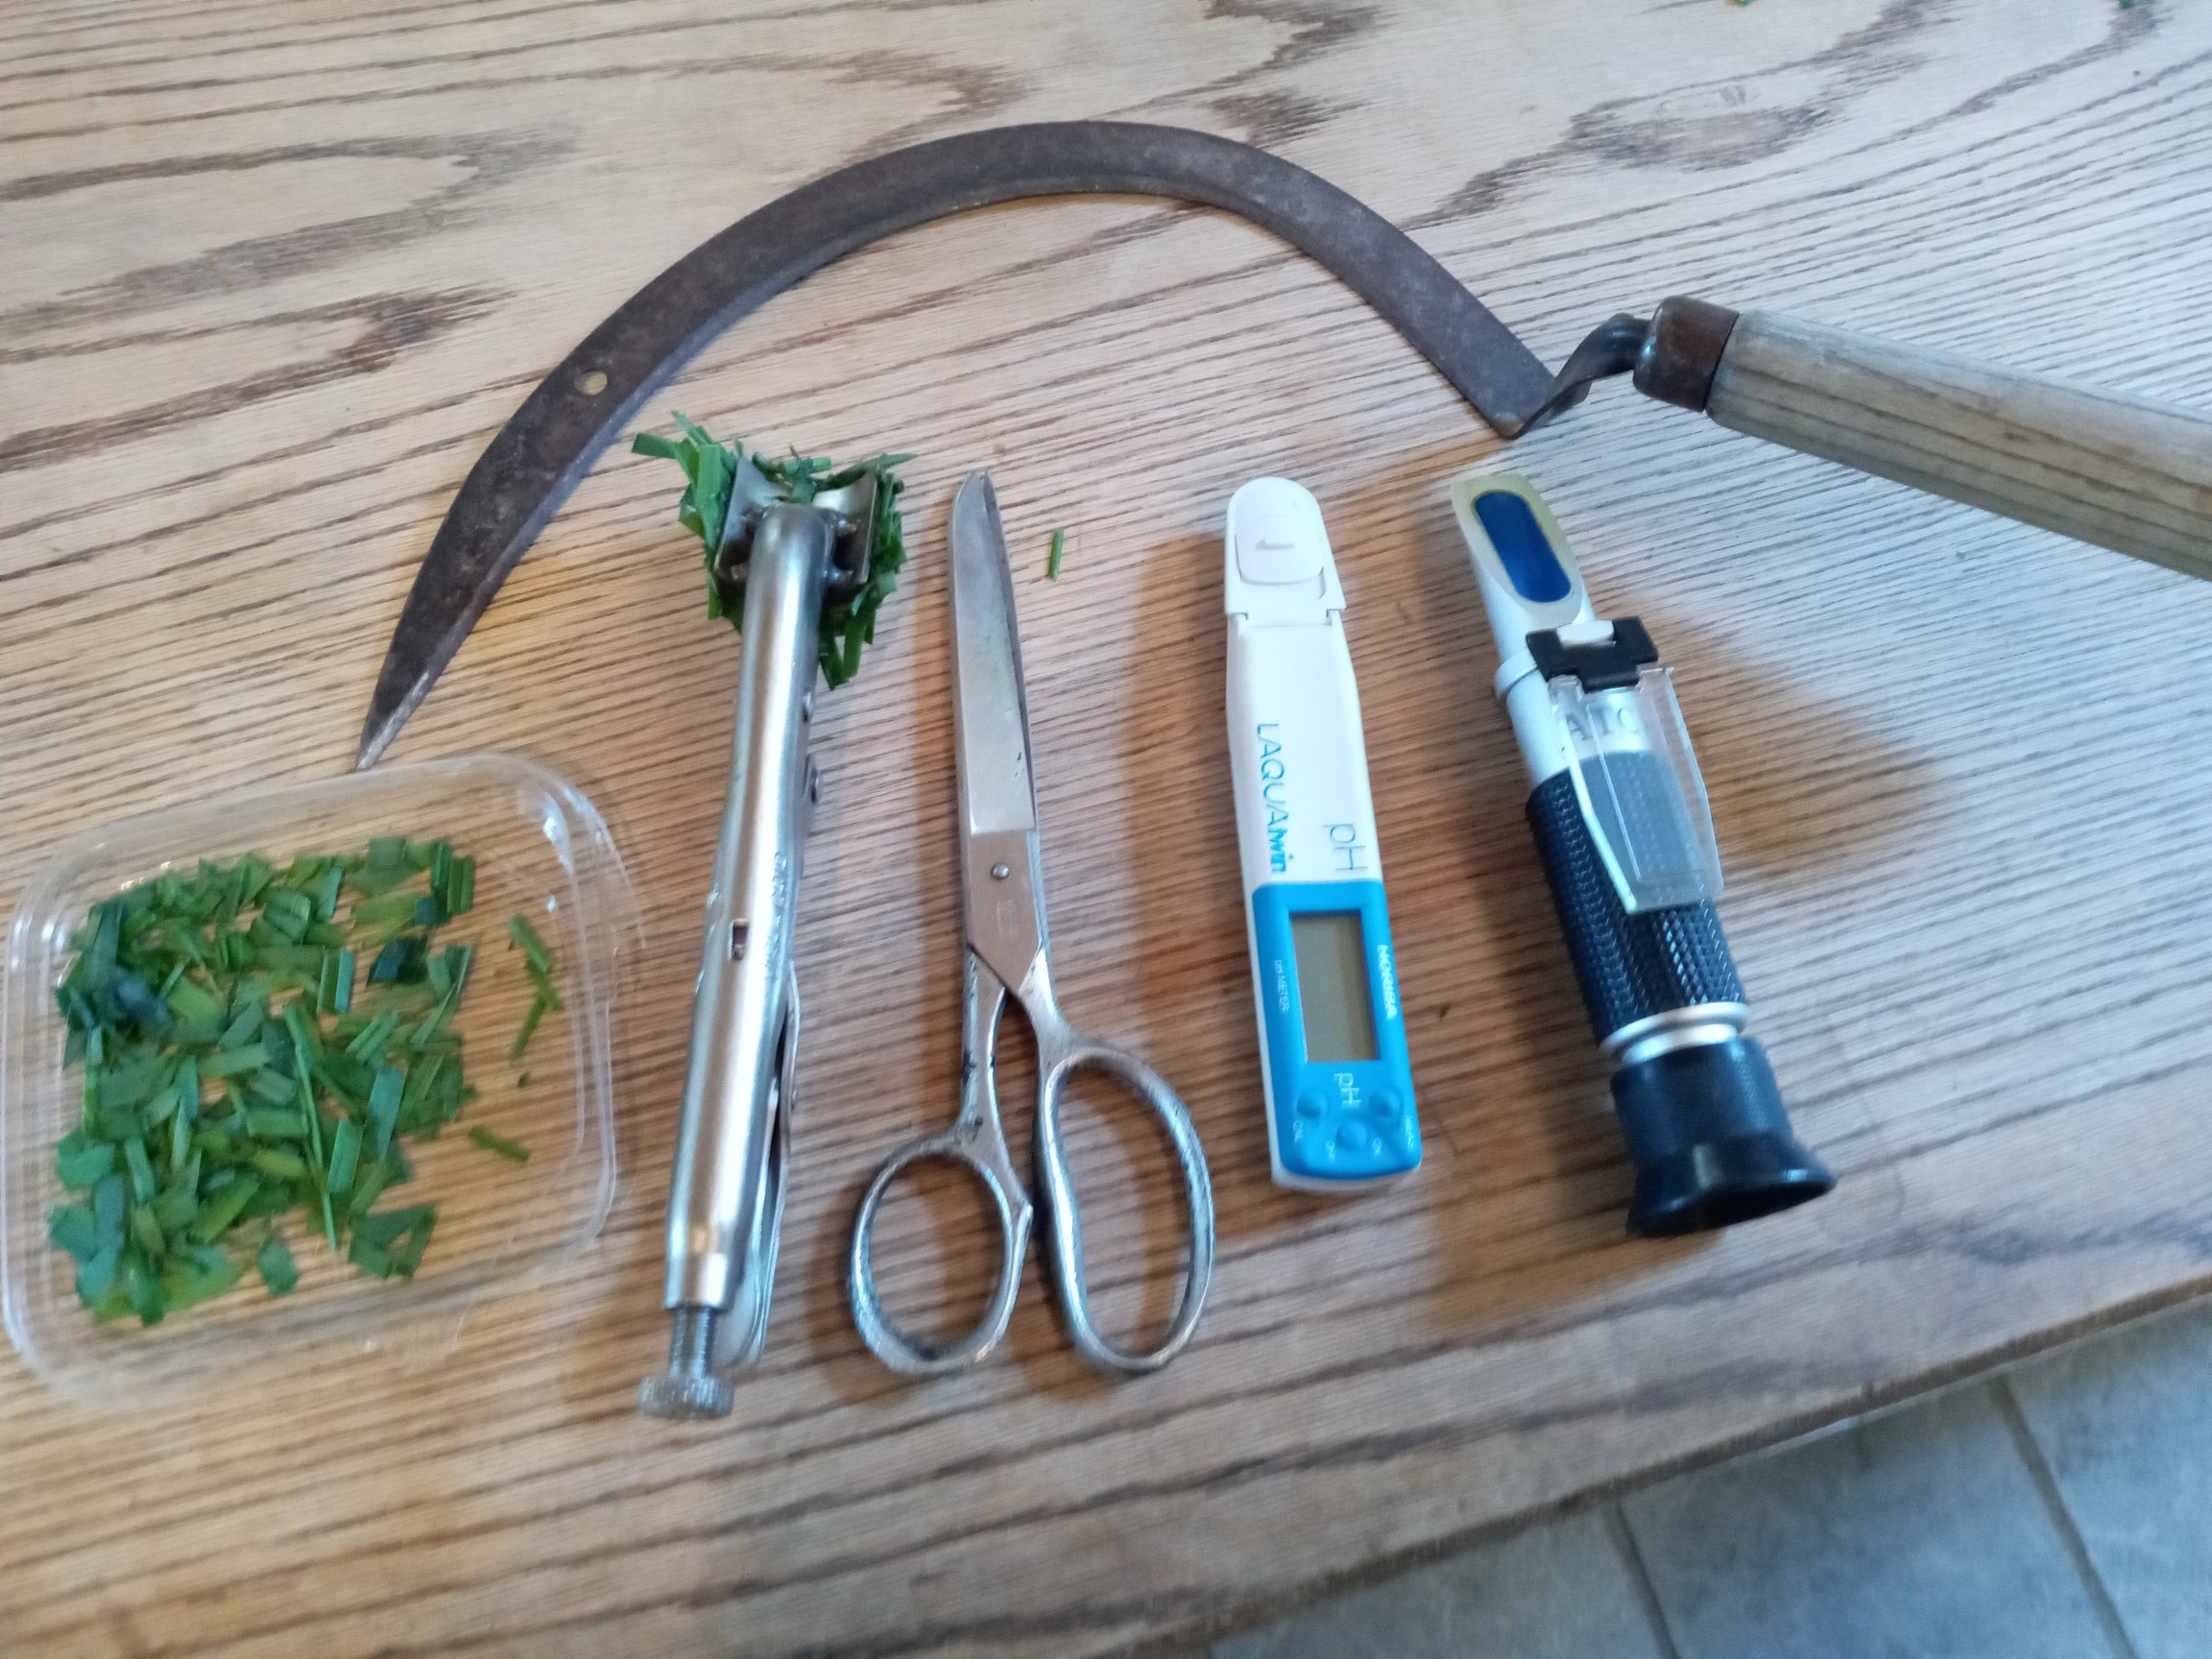
Vice Grip grass crusher, scissors, PH meter and refractometer
The theories ranged from “younger kids are kinder” to soda pop taste tests. The project that struck me as the most contemporary was one questioning where the most bacteria accumulated on common surfaces around the school. The hypothesis was that keyboards would surpass bleacher seating, doorknobs and other sites. After a lot of testing and culturing of cultures, doorknobs turned out to be the most unsanitary. The variables were the different surfaces. The procedure was to swipe each surface in the morning and start a culture from the swab, then to do that again in the afternoon. After counting the density of microbes in the cultures, the conclusion was that doorknobs were actually the most unsanitary.
Almost every experiment had a secondary conclusion that the methods and materials could have been improved to show more accurate results. Therein lies another annoying characteristic of science, it consistently confounds the desire for simple solutions. That tendency has confronted me with many annoying results.
For instance, a key measurement of soil health is SOM, soil organic matter. With an increase of 5% to 10% in SOM on earth’s cultivated ground, enough carbon could be sequestered in the soil to offset thousands of years of plowing up roots and burning fossil fuels. SOM is also a strong indicator of microbial life and healthy soil which produces stronger, more abundant and nutritious food. Win. Win. Win! Right? Just measure SOM on a broad scale and you have an index of the health of the soil, a little like measuring CO2 to get a simple measure of climate change. Not so fast on both counts.
Turns out that the SOM variable is very variable from Spring through Fall as an indication of plants taking up nutrients to grow and releasing them again when they die. Percentages vary from one soil type to another reflecting different crops. As a broad indicator it is very good. Getting to that bigger picture takes a lot of study. Often that work involves Citizen Science, annual bird counts or referendums on the most interesting objects in the universe. (Google VV 689 and the Galaxy Zoo Project.) Thousand of citizen scientists contribute observations and opinions, a few scientists crunch the numbers and pick a result.
Meanwhile, down on the farm, how can we tell what is going on? We still have theories, variables and procedures. But our tests, conclusions and decisions just become management. Actually there is some common ground. Case in point: brix. Brix is a measure of liquid density, usually an indication of sugar content. Just as light bends when it enters water because water is denser than air, light bends more in liquids denser than water and you can measure that on a simple instrument called a refractometer.
As a winemaker, I measure brix regularly during harvest season to see when sugars are high enough in grape juice to ferment completely into a finished wine. Plant scientists have begun using brix for a wide spectrum of reasons.
Within a given species of plant, the crop with the higher refractive index will have a higher sugar content, a higher mineral content, a higher protein content and a greater density. This adds up to sweeter-tasting, more nutritious food with a lower nitrate and water content and better storage characteristics. (https://johnkempf.com/tag/sap-analysis/ – which I highly recommend)
To measure brix in a crop, you need a drop or two of liquid sap to put on your refractometer. With leafy crops like grass, that is not so easy. I needed a tool that is essentially a pair of vise grips with a spoon lip makeover. With a little experimentation and a few adjustments, I had some grass juice to put on the refractometer. It’s sticky and very green. My first sample came in at 8° brix, which is a good, but not a great number. Again the variables are critical. Brix is lower in the morning. Sugars are stored in roots at night and used up a little by morning. They climb during the day. Hay cut in the afternoon is generally sweeter and healthier than that cut in the morning – except if it rains, which happens regularly. To track progress you need a series of measurements at a consistent time of day under consistent weather conditions.
It turns out that brix as a one-size-fits-all plant health indicator is (like SOM) just too simple. A more critical variable is PH and PH is a slippery slope. It is measured on a logarithmic scale with each degree being 10x the degree below it. So 9° PH indicate 100x the alkalinity of the neutral 7° and 5° PH are 100x more acidic than 7° PH. The sweet spot (so to speak) is 6.4° PH. My grass was 6.0°.
As PH gets more alkaline, the risk of insect damage goes up. As PH gets more acidic, the risk of disease damage goes up. As brix goes up, a plant’s resources to fight insect damage increase. These are immediate test results than you can use to manage your crops in real time without waiting weeks for soil and other lab tests. The common ground is that you can do the tests for your own crops and the professional scientists can advise you what the results mean and what to do about them on the internet.
When I was a younger and less knowledgeable gardener I tried starting apple trees by planting seeds. Johnny Apple Seed right?! It didn’t go very well and I asked Larry Geno, who owned Bear Creek Nursery at the time about how to do that. He laughed in my face and proceeded to tell me that virtually no fruit trees are planted from seed. Seed allows whatever crazy genetics has come from other trees in the orchard to create trees that would probably vary from seed to seed. Consistent trees are clones, pieces of the original tree that have been rooted, or grafted onto root stock. Actually the root stock has a big influence on the size and resilience of the tree.
The same thing can be said of many other shrubs that you might want around your place. Lilacs are particularly good at sprouting roots and sprouting from roots if you cut them down. It is common knowledge that you can take a cutting from almost anything, stick it in the ground and it will sprout roots and grow sometimes. And therein lays the rub. Not every kind of plant will grow in every type of ground every time but sometimes they do.
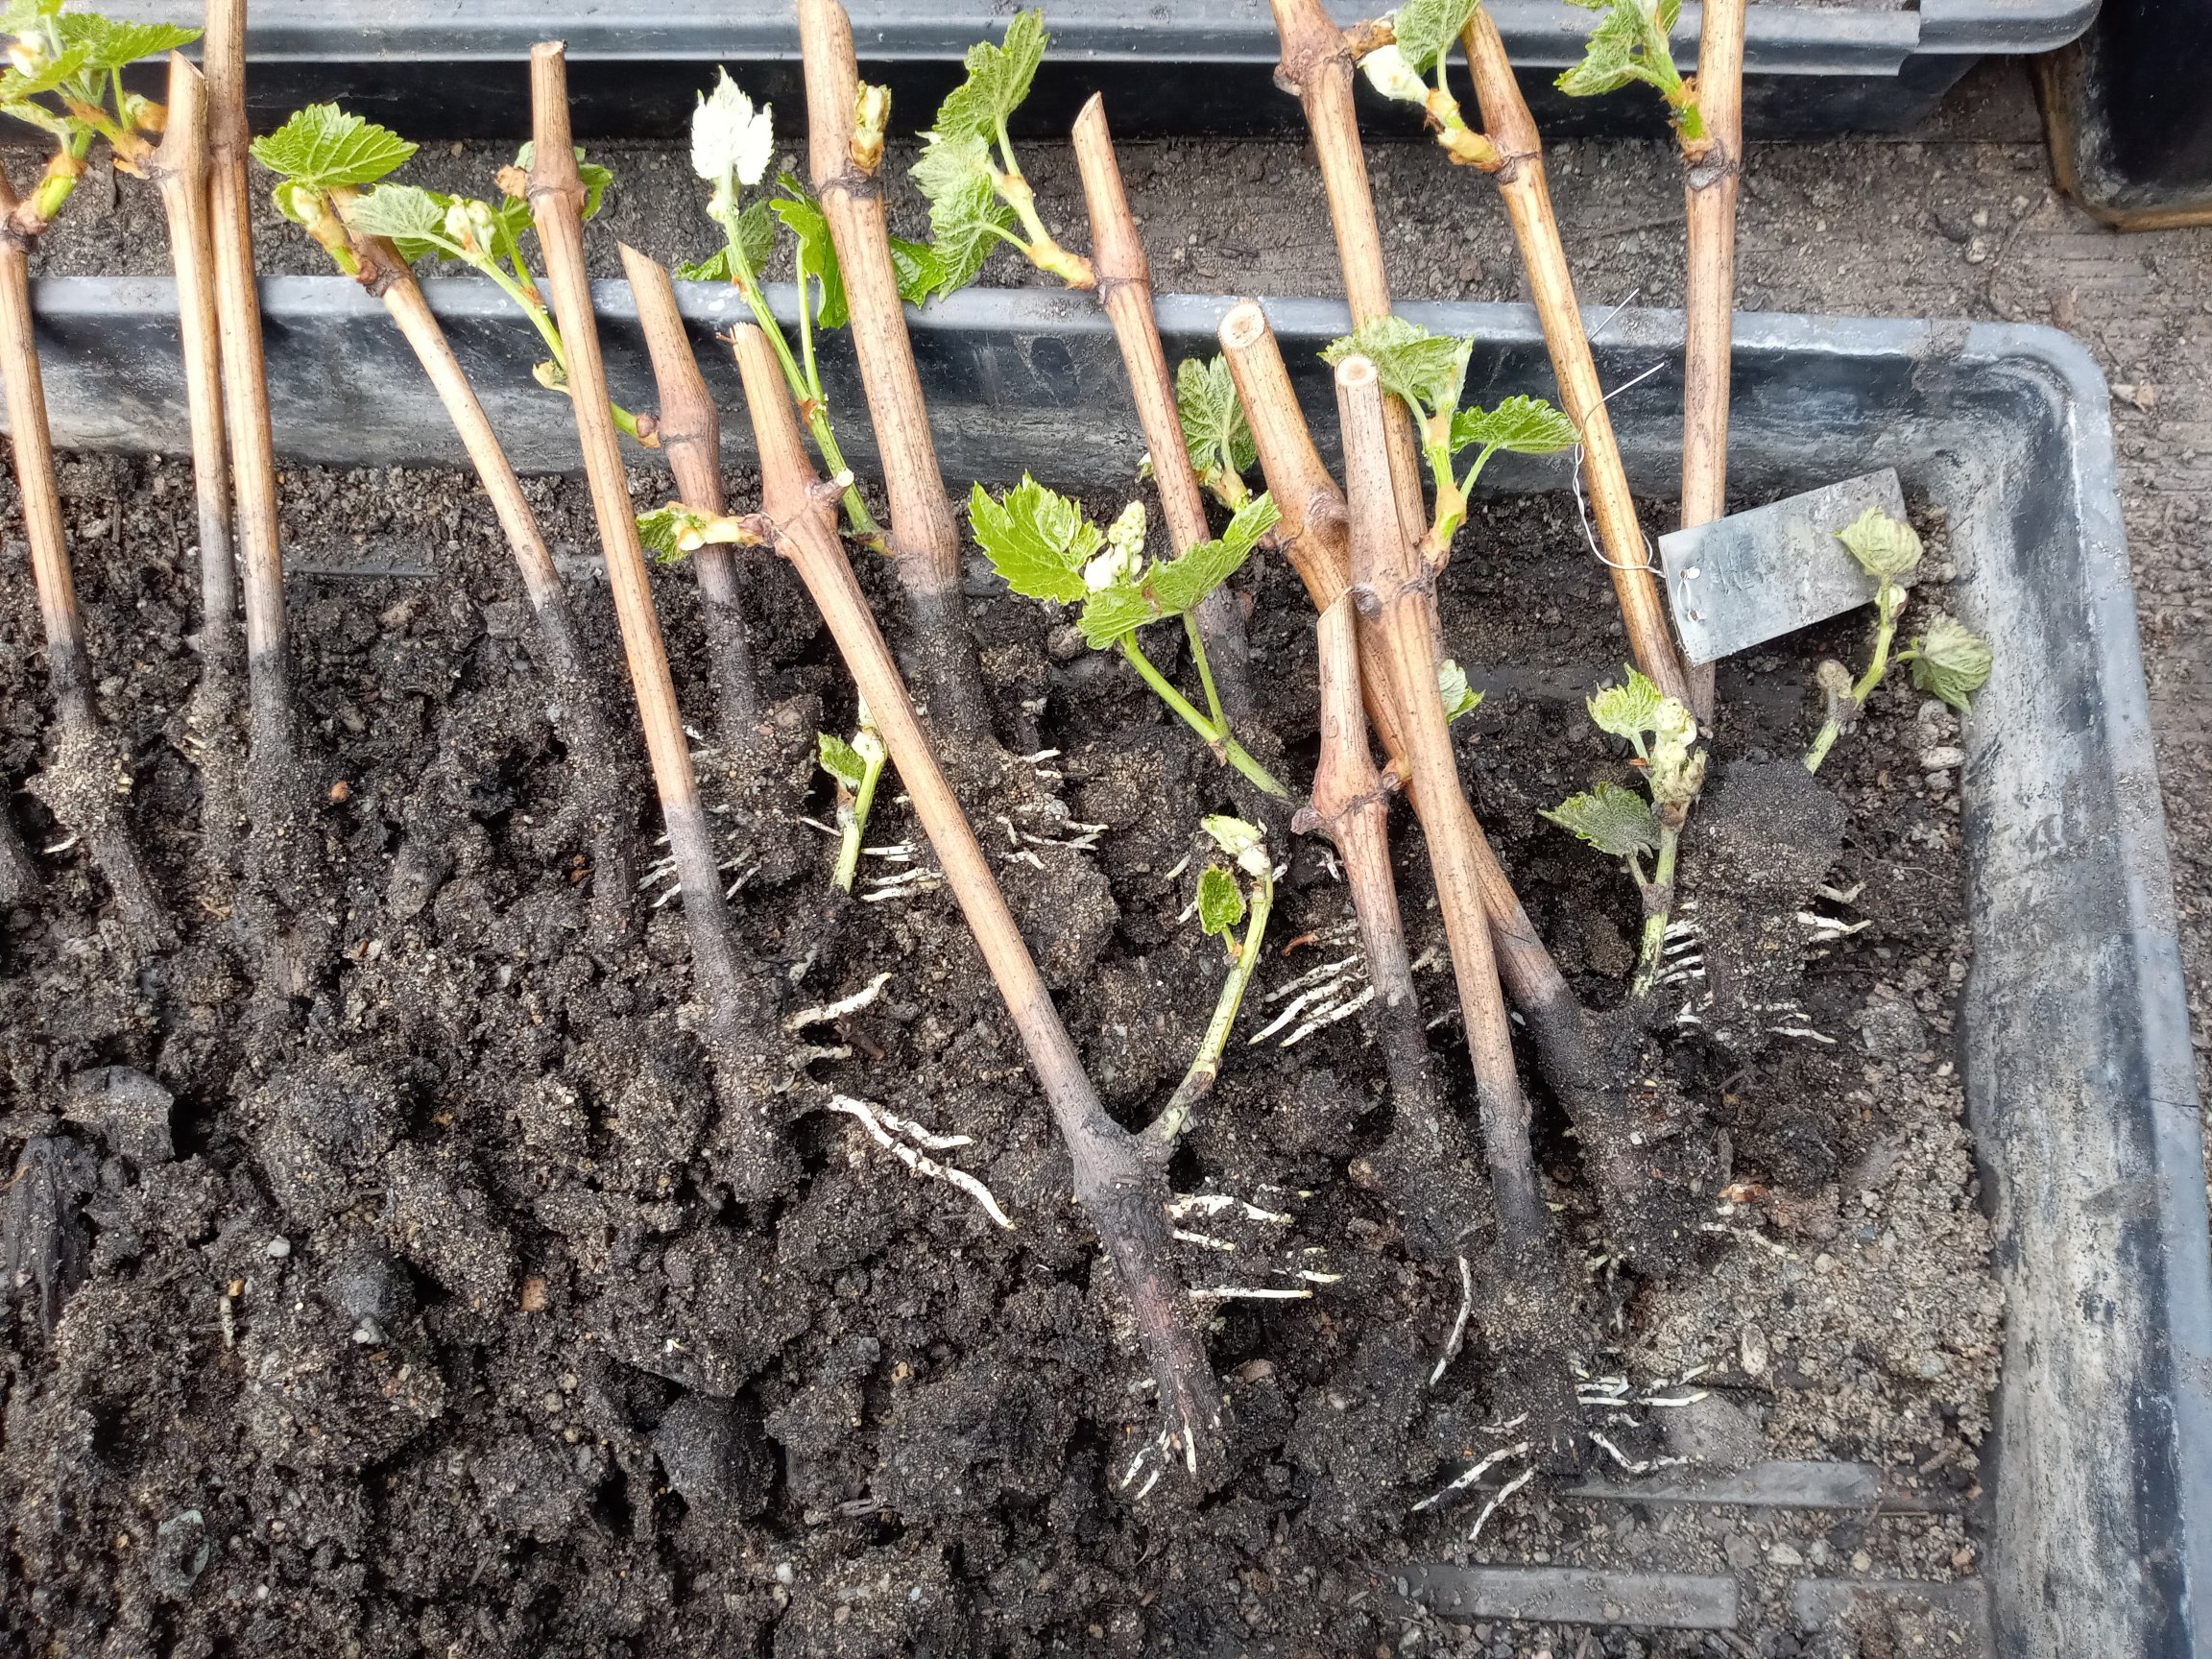
With grapes you need to start with cuttings. Since they are pruned every year, there are plenty to choose from. I have noticed that the first few nodes on last year’s canes sprout the best. They are thicker and the buds are usually closer together. Even if you have some canes that are thick all the way along, they tend to have the buds spread further apart and do not sprout roots as well. I put the cuttings in water immediately, even if I can’t process them for a few days. But they don’t do well in water if left too long.
I bundle cuttings of one variety at a time together. As I cut each one down to one or two buds, I dip them in water with mycorrhizal fungi spores in it. Roots have a very beneficial symbiotic relationship with fungi. The fungi get sugars produced by green leaves and in exchange bring water, minerals and other nutrients to the roots. This effectively multiplies the access each root has to food sources by many times. The fungi also seem to promote root growth.
This year I was looking on the Internet for a fancy acid that I had read promotes root growth. Google suggested some related questions, one of which advised that the best stimulant to root growth was a tiny amount of vinegar, about table spoon per gallon. So I used that in the water this year along with the fungi spores.
When gathering grape cuttings, I also gather some willow and soak those cuttings in buckets of water. When first encouraging the grape cuttings to sprout roots, I water them with that willow water because it has natural rooting hormones in it. The willow cuttings never fail to send out lots of roots for themselves in the water. But grapes don’t like to be too saturated with water. So I put the bundles of grape cuttings in a mixture of sand and biochar. The biochar holds moisture and microbes. The sand allows good drainage and some air flow. It also makes it much easier to separate the roots once they have sprouted.
I set the pots with the sand, biochar and bundles of cuttings on nursery heating mats. The mats stay about 80° F and bring the pots up to about 60° F. Warm soil triggers leaf and microbe growth, essentially telling the plants that spring has arrived. That is nice especially when spring seems reluctant to warm up the ground itself.
The cuttings take 3 or 4 weeks to root. They need to have moisture and warmth during that period. Some growers advice keeping the above ground buds in the dark while the below ground parts are rooting. I’m not sure that is helpful. You will certainly get a lot of leaf growth even if there are no roots. The debate is whether the leaves are pulling water that the cuttings can’t supply before they have roots, or if the leaves add sugars and energy to the cutting while it is trying to produce roots.
Not all cuttings behave the same. You might get superb root growth on one variety and poor growth on another. I conclude that I just don’t know everything about rooting cuttings. I have experience, extensive reading and several You Tube videos to go on, still there are wins and fails. Even after 35 years, this is an evolving process. If you have questions to ask or experience to share, I am interested. Like most science, it progresses once you admit that there is more to learn and work with others to share information.
The nearly endless month of Farch is upon us. This winter feels like a little ice age. But hope springs eternal… Spring being the key word. With Spring planting and growing in mind, it is time to take advantage of our disadvantages. The ground around here is still protected by snow and ice. No growing is going on anytime soon. But no forest fires, lawn mowing or many other distractions are going on either. It’s a perfect time to make biochar. Biochar is just charcoal used to enhance the biology of the soil. It does not have additives to compress it into briquettes for grilling or other uses.
Northeast Washington is also a great place to make biochar. People go on about how you can make it from almost anything: poor quality firewood, dead and down trees and brush, slash piles, orchard prunings, torn down building scraps etc. I’ve used all of those things. If you have a lot of them and reducing that waste is a big objective, go for it. An advantage we have living here is lumber scraps. I that is the fuel of choice.
Early in the burn process
But first, let’s revisit the last article I wrote about making biochar in 2019, Backyard Biochar. In that article I advocated making a little oven of cement blocks or something similar because you could extract the biochar from the fire and use the left over still-flaming wood pieces to kindle another load, making it a continuous process. That was a good idea as far as it went. But although the cost was virtually nothing, it was still a lot of work for not much biochar.
Biochar has become a very familiar soil and animal feed amendment. A simple Google search for “biochar” yields 4,750,000 results in 0.65 seconds. People have caught on to the fact that biochar is good for the soil, the atmosphere and your crops. There is no need here to elaborate all the good things about it. There is plenty of information out there. Check out http://terraflora.us for a great rundown. If you want to make some for yourself however, experience is in short supply.
I’ve learned two important production lessons since 2019:
1) Dry flat pieces of lumber work best and
2) As long as you keep feeding new material into a fire from the top as it burns down, the lower charcoal does not turn to ash and become ruined. Let me explain.
Wood needs to be dry to burn efficiently. The basic process heats the wood driving off resins which burn as yellow flames. When the flames are blue and the coals are red, it is time to quench the fire and save the charcoal from turning into ash. Wet wood uses up a lot of the heat to dry the wood before the resins vaporize. It is smoky, inefficient and leaves partially burned material. Wood also needs to be of a fairly uniform size and shape. Sure dead limbs and prunings can make a great fire and even after a time be efficiently dry. But you end up with the small stuff burning up quickly, dropping to the bottom of the fire and turning to ash while the big stuff is still flaming and not nearly turned to charcoal all the way through. It is literally a hot mess.
This is where the local lumber mills make Northeast Washington such a great place. Webley Lumber has a big pile of dry pieces that you can load into a truck and cart away for free. But it is far from the only source of dry scrap lumber. I can think of several neighbors who have their own little sawmills. Running a little sawmill creates a lot of scrap wood and slabs. It is usually too uneven to build with and not thick enough to hold a fire for long in a wood stove. But it is perfect for making biochar because it dries out quickly and uniformly. You can stack it tightly and cut it into short pieces easily with a chainsaw. But remember that part about it burning up quickly in a wood stove? That’s where lesson number 2 comes in.
Many kinds of containers can hold a biochar fire. I use a big metal box once used to ship diesel engines. There are many other ideas at https://wilsonbiochar.com/. A big ring of sheet metal sitting on the ground works. So do old tanks cut open in different ways. The common denominator is that you start a fire in the bottom and add fuel from the top. The fuel burns down to hot coals in the bottom. If left alone the coals will combine with oxygen, burn into CO2 and leave only white ash minerals. This is exactly what you want to avoid. You want to be able to get that nearly pure carbon charcoal into the ground where it will do wonderful things to promote growth and last for centuries.
By adding more fuel on top of the red coals as soon as the previous load has combusted, you heat the new fuel driving off resins which burst into yellow flame and suck up the oxygen before it can get to the red coals. Timing is everything. I use the timer part of the clock app on my cell phone to remind me every 25 minutes to add more fuel. If you add more fuel too soon, it buries the previous load depriving it of oxygen and leaving parts unburned. If you wait too long, coals turn to ash.
You can add a lot of fuel, up to the top of the container each time. As long as it is of an even size and air can reach the escaping gases, it will burn all at once and be ready for the next load. I usually start a fire in the morning and keep adding batches all day until the container is full of coals or it is too dark outside to work safely.
Quenching it is another story. Theoretically you should be able to cut the air flow into the fire and it will cool below combustion point. You could also pour a lot of water on it. Both of these techniques have drawbacks. Even when cool, charcoal is a natural insulator. After being quenched and sealed, I still find hot spots in the embers the next morning. This means that I need to dig through the coals and spray water on them if they are still burning. The other drawback is too much water. Charcoal soaks up water like crazy. It can become very heavy when wet and holds on to that moisture. Also, too wet charcoal creates black goo that plugs up the screen on my shredder when I break it into smaller pieces. Big pieces won’t expose much surface to soil biology. Powder-size biochar won’t hold much water.
I put water or snow on the red coals until they turn black. This involves digging through the coals to expose and drench hot spots. I want the vapor that comes up to smell like steam, not smoke.
So spring is in the air, but not so much in the ground. Seize the moment and make biochar. At least it is a warm project.
Astute readers will remember that in the January Issue of the North Columbia Monthly, after a lengthy description of the travails I experienced in setting up a microscope attached to my computer, I expected similar problems getting to know how to use a digital PH meter. Truthfully, using the PH meter was not too bad. Delving into what PH means and how it is measured and used however quickly became fairly daunting. There is no definitive definition for PH. “Potential for Hydrogen” is pretty standard. I learned that it is based on a logarithmic scale with 7.00 in the center for pure water at 25° C (77° F). Acidic readings decrease – that is they get more acidic – from there and base readings increase. If the temperature increases, the PH goes down but the concentration of hydrogen ions is actually less. At this point I pretty-much mentally dropped out of understanding the electro-chemical part of PH. I’ll just agree with the reading.
But I did get some measurements of a pure water sample that came with the PH meter at 7.0; our hard water at 7.6; wine around 4.0 (about like orange juice) and melted snow at 6.7 when cold but 7.1 at room temperature. I was curious about this last reading since I was hoping that we don’t have acid rain or in this case snow, which apparently we don’t.
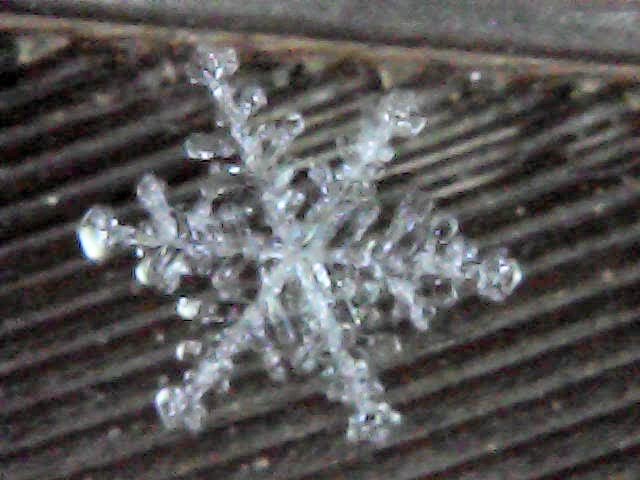
Rimed Stellar Snowflake (left) Needles (right)
Speaking of snow, I neglected to say in Citizen Science Part 1 that the digital microscope I have can also work with a cell phone. As local temperatures plunged to near 0° F, I realized that having a microscope that could be out in the cold would be great for taking pictures of snowflakes. The microscope emits a wifi signal that a phone can pick up and with the right app it can show the microscope’s image on the screen and take pictures. “Can” being the operative word here, it took a while to get it working.
Evidently a cell phone much prefers connecting to a wifi signal that has an Internet connection. My phone kept dropping the microscope signal to pick up my local Internet wifi signal. After some time in the cold with frozen fingers and tiny instructions I discovered that you can force the phone to stay tuned to the microscope. Bring on the snowflakes!
Well, that part was even harder. Once I got some snow focused in front of the microscope, I was looking essentially at crushed ice. I became much more focused on what is going on with snow. I figured the background should be black and set out a piece of black plastic to get cold enough to not melt a snowflake. Soon enough a really good looking snowflake landed on it. I figured I would come back the next day and get the microscope going.
I came back and the snowflake was gone! Remember “sublimation” from high school physics? Ice can turn right back into air without even melting.
Snowflakes look good just landing on your sleeve. Cloth! Black Cloth! That should work better without having the snowflakes break apart when they land. I got out some old black socks. It turns out I was reinventing the wheel (so to speak). If you look into the history of photographing snowflakes, you find out that William Bentley started with black cloth and a turkey feather in 1885. He is really the father of snowflake photography and identification. I was way behind.
Eventually, what looked like some perfect snowflakes to the naked eye, landed on the table where I had my microscope. I took the picture shown of a basically six-armed snowflake that still looked like it was made out of crushed ice.
Meanwhile my wife, Cheryl, pointed out some new snow on the black windshield covering I had on my car. I zoomed in with my cell phone and took a picture of what I thought must be regular snowflakes broken into little needles. By this time I was corresponding with an old friend who has been trying to get good pictures of snowflakes for a long time. She informed me of several things. First, the six-sided snowflake that looked like crushed ice was probably a “Rimed Stellar Plate”. Second, a really good source on snowflakes is Ken Libbrecht’s Field Guide to Snowflakes. I found it for free on the Internet at http://www.snowcrystals.com/, which is Ken Libbrecht’s website. The field guide is really a chapter in a much larger book.
I soon found out that some snowflakes do look like needles. In fact there are all kinds of shapes of snowflakes besides the six-sided ones. The basic ways they form are determined by humidity and temperature. There are many other determining factors and Libbrecht lays them out in this guide. Something to notice is that the picture of the needle flakes was taken with a cell phone camera and no microscope yet it is still very sharp. The fancy microscope is not entirely necessary.
Libbrecht actually spells out something that was becoming apparent to me. Snowflake photography is a lot like birding. You can get into it with expensive equipment or just start learning with what you have and compile a “life list”.
That “Rimed Stellar Plate” in the first picture is a basic six-sided Stellar Plate that has a lot of rime, tiny globs of ice, attached to it. It forms best in high humidity and temperatures around 5° F. That combination is a sweet spot for growing snowflakes and can also produce Fernlike Stellar Dendrites which branch out in needles at 60° angles to the main stems, your classic snow flake shape.
Those colors that flash out to you when bright light or sunshine hits fresh snow reminded me of prisms. In fact they are prisms. The core structures of snowflakes are hexagonal crystals of “diamond dust”. Special lighting and polarized microscopes can take amazing pictures of snowflakes bringing out internal shapes and colors. There is so much more to learn that I almost look forward to more extreme cold temperatures. Almost. So, once again Citizen Science can be fun and exciting as well as frustrating. There is so much to learn! Talk to friends who know more than you do. It still helps to check out the Internet. When this snow is gone I plan to discover things that are more practical and hopefully not boring
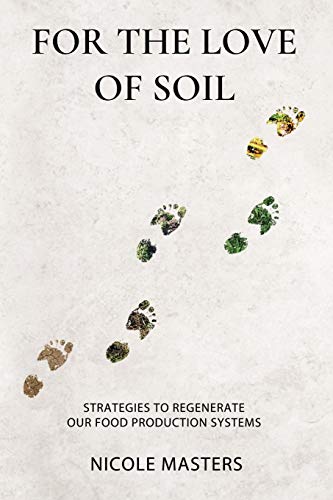
Start with For the Love of Soil by Nicole Masters. It was certainly both the most inspirational and educational book I read last year. The main chapters of the book include story after story of farms that underwent almost miraculous transformations by the application of biological and sometimes chemical/mineral treatments as well as management practices. Then she goes on to add sections on transitions, using a refractometer, infiltration, monitoring indicators, growing mycorhrizae and transition weed strategies. So it is also a handbook on managing your farm. Every farmer should have a copy handy.
Next on my list are 4 books by David R. Montgomery. Eileen of Ramstead Ranch recently suggested reading his book, Dirt (2007). I realized that I had not finished my digital copy and went back to it. Although it is mostly a litany of the ways humans have ruined soil through the centuries, there are enlightening bits about sharing grazing on a “commons” being sustainable when managed collectively and how since tobacco was 6 times more valuable than any other crop, it was farmed on new ground on the East Coast and abandoned when the fertility ran out and slave-owning farmers moved west, eventually leading to the Missouri Compromise and the Civil War.
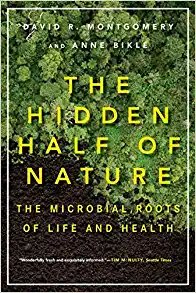
His next book, The Hidden Half of Nature (2015), explores the benefits of regenerative agriculture that he was only beginning to realize in 2007 spurred on by biological understanding of his wife’s cancer.
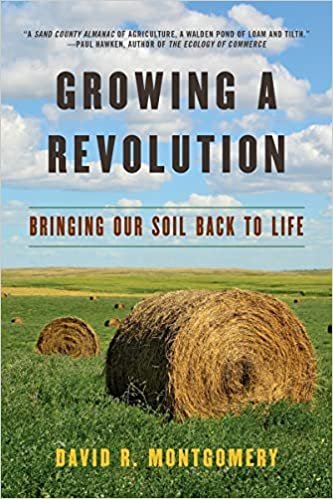
Third in the series is Growing a Revolution (2017). Montgomery travels extensively, learns lessons and relates stories of the emergence of leaders in regenerative agriculture. These are also inspiring stories and great background in how this movement developed.
Another book by Montgomery is out there on my reading list, What Your Food Ate (2022). This is a reminder that we are all learning about soil and microbiology in a cascade of new information (hence all the publication dates). I keep realizing that Montgomery can explore all these things because he is not a farmer and tied to the everyday focus needed to improve one piece of land or an adjoining region.
In somewhat of an aside, I recommend The Invention of Nature, Adrea Wulf (2015). It is the extremely inspirational biography of Alexander von Humboldt. As such it covers the beginning excitement around the scientific revolution. Geology, Biology, Democracy, climate and culture all explode out of the explorations of Humboldt and subsequent correspondence.
All of these works on the nature of nature demand better understanding of the nature of mankind. In an escalating series of historically-based realizations about who we are, Yuval Noah Harari’s books Sapiens (2011), Homo Deus (2015) and 21 Lessons (2018) constantly give me new ways of looking at the world to which I am responding, “Of course, that’s what I was trying to clarify.” Having been trained in classical philosophy, it is a huge relief to read someone whose every word makes sense.
Finally new on my reading list although written in 2014, Think Like a Commoner by David Bollier may hold insights into why we are failing to rise to the occasions of climate change, soil depletion and pandemic disease and what we can do about it. As usual, everything you learn suggests new things you need to know.