
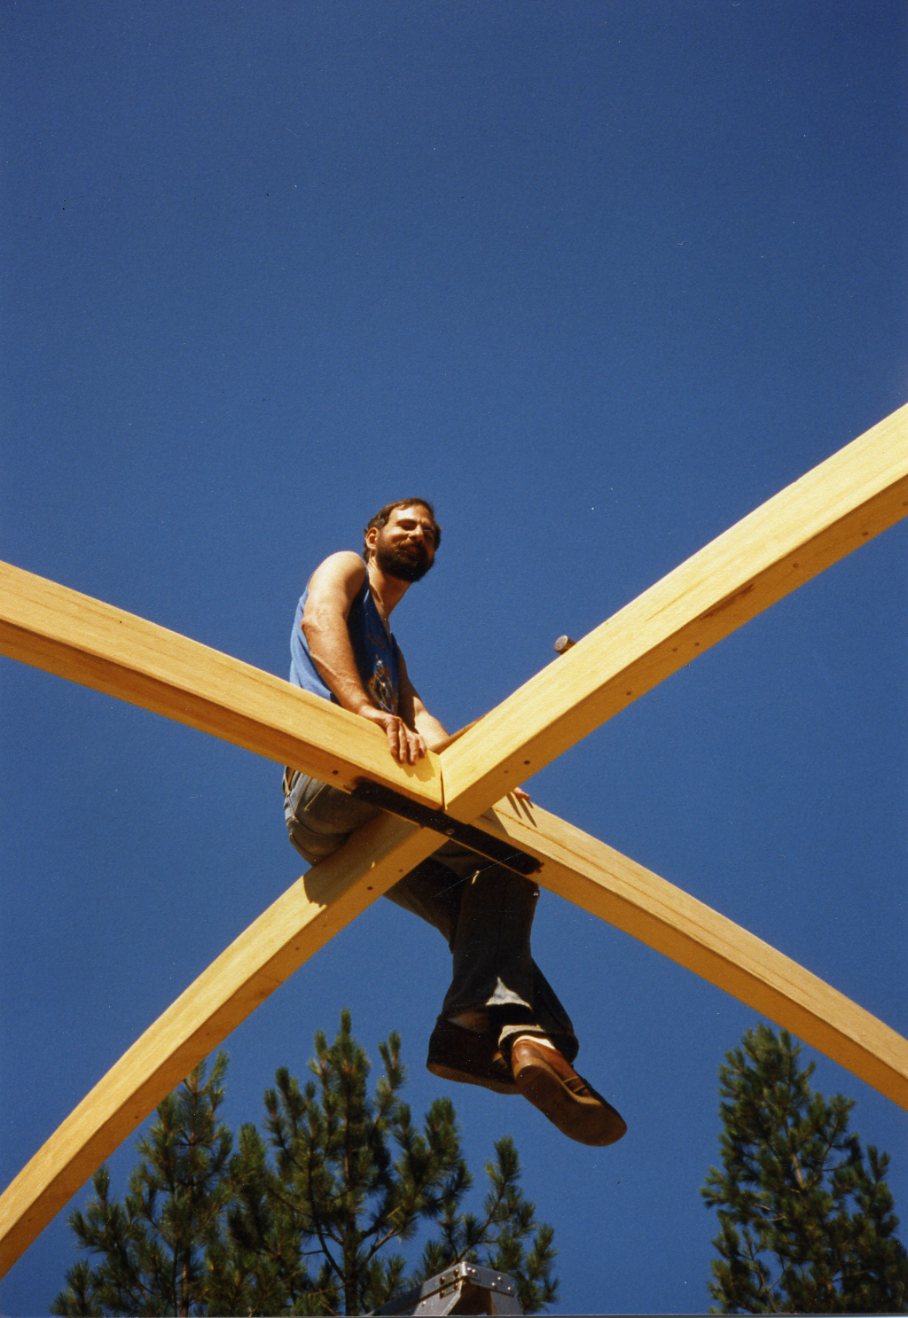
Starting the dome.
Cheryl helps raise the roof beams.
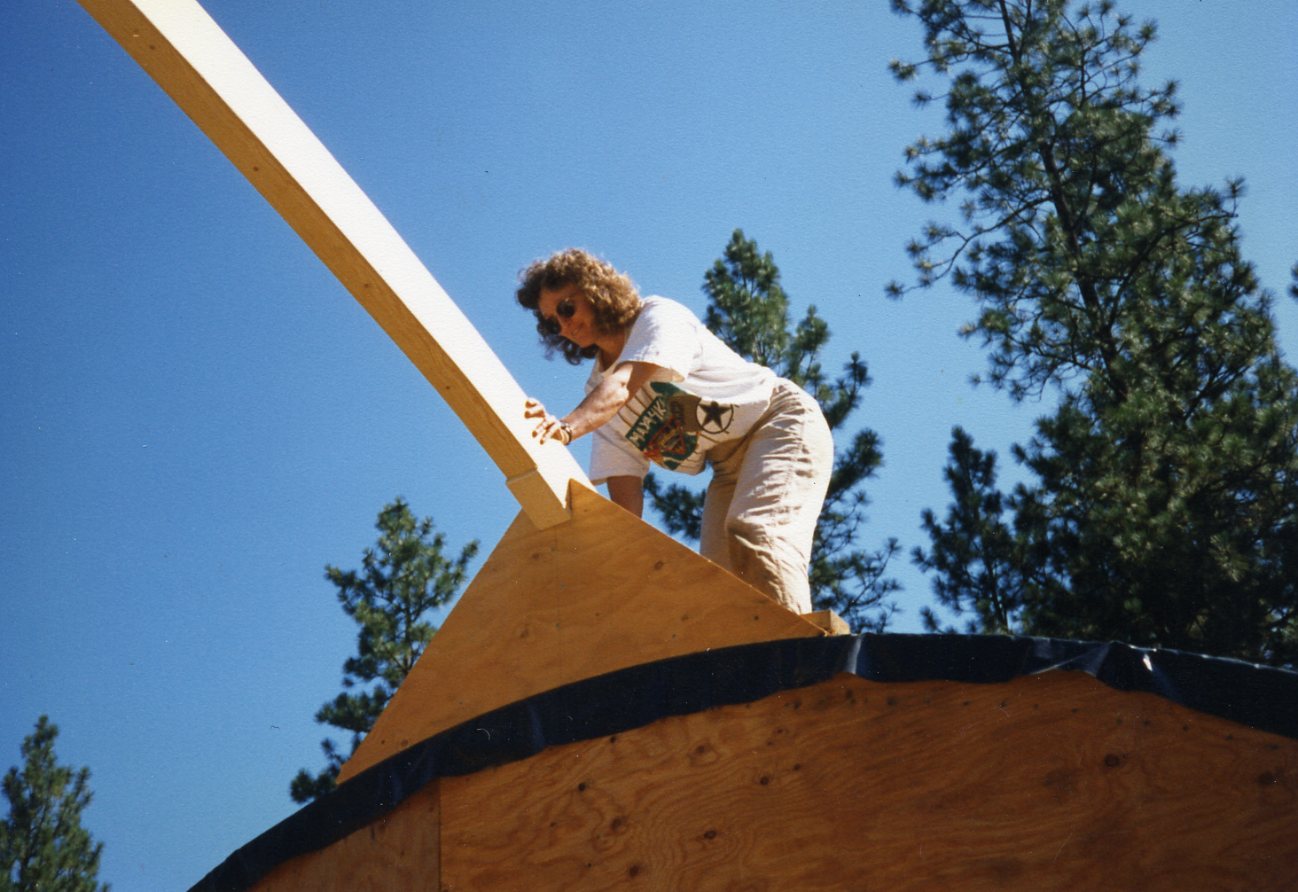
When we left off on the epic tale of building our underground house, we had gotten the main forms covered just in time to shed the snows of winter and with just enough space to build the curved laminated beams that would support the center dome. As spring emerged into the summer of 1992, the laminated beams emerged from the house/shop and came together as the structure for the central dome. Four of them came from the corners of the square floor of the central space and four came from the tops of the arches on the sides. They all met at a center yoke and were tied together with steel straps bolted through the beams. Believe me. I was one happy dude when all the math and construction proved to be spot on and the pieces fit together.
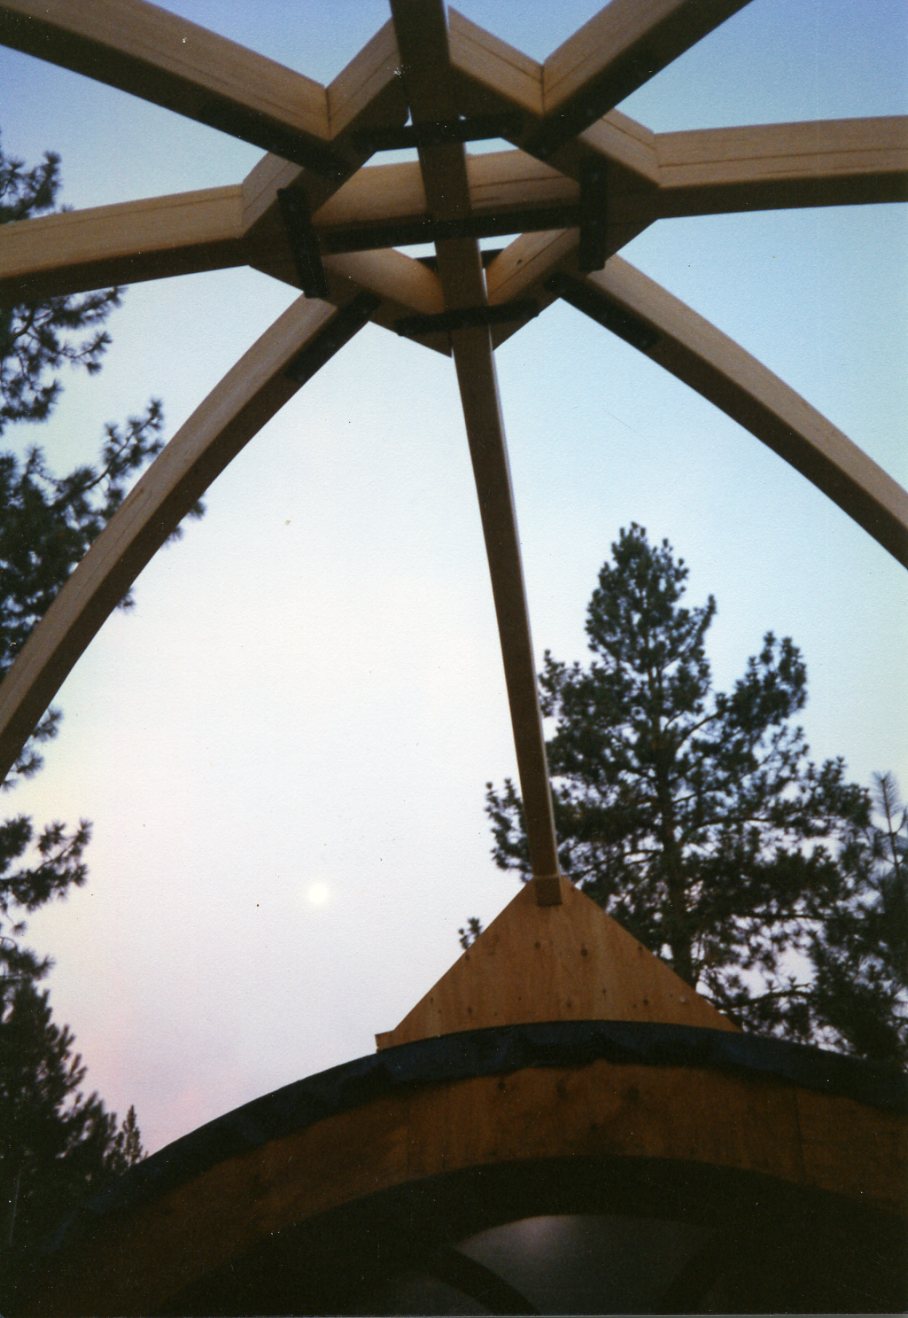
The whole set of beams
With the beams in place I sawed 2×6 tongue and groove pine decking to fit the curves of the arches and of the central dome. This was not simple since the cuts became increasingly long and angled in two directions. I ended up clamping most of them in the vice on my work bench and sawing them by hand. In retrospect, this was a bad idea altogether since it did not give me an easy way to finish the joints once the arch forms were removed. But I knew that I was my own guinea pig on this project and that is just the kind of lesson I wanted to learn. At the time I was thinking I might build more of these. As it turns out, people are unnaturally paranoid of living in underground buildings and this one is not ready to show off anyway. So no lessons have been applied elsewhere.

The hot tub on the roof.
I knew that I wanted a skylight to bring light into the center of the house. It is a little more complicated when the house is buried in dirt. I built something that looks like a hot tub and placed it at a good angle to catch sunlight at this northern latitude. With the skylight and decking in place, we began to work on the interior of the arches from the outside of the forms. If that sounds weird, it is. I didn’t want raw concrete exposed on the inside of the house. The decking in the underside of the central dome would remain even after it was no longer structurally necessary. But I wanted rock on the inside of the kitchen and tile on the inside of the bathroom wing. Working on a tight budget, I used the cheapest alternative, child labor.

April and Bina laying rock
April, Bina and I went to Kifer Quarry and picked up hundreds of the thin (1/2″ or so) flat pieces of quartzite to cover the inside of the kitchen arch. Our plan was to put the rock in place on the outside of the form for the arch so that it would be inside the structural concrete when the form was removed. I wanted to hold the pieces in place with mortar, but didn’t want it wrapping around to the inside surface of the rocks. So the girls and I filled a little bit of the spaces between the rocks with clay, then covered them with mortar. This basically worked, when we removed the kitchen arch form (one year later), I was able to wash out the clay with a hose. But mortar is not strong enough to hold hard non-porous rocks really well, so we lost a few when the forms came out. Another lesson learned. (Quartzite is so hard that the Columbia River could not cut through the large deposit of it that forms the Kettle Falls.)
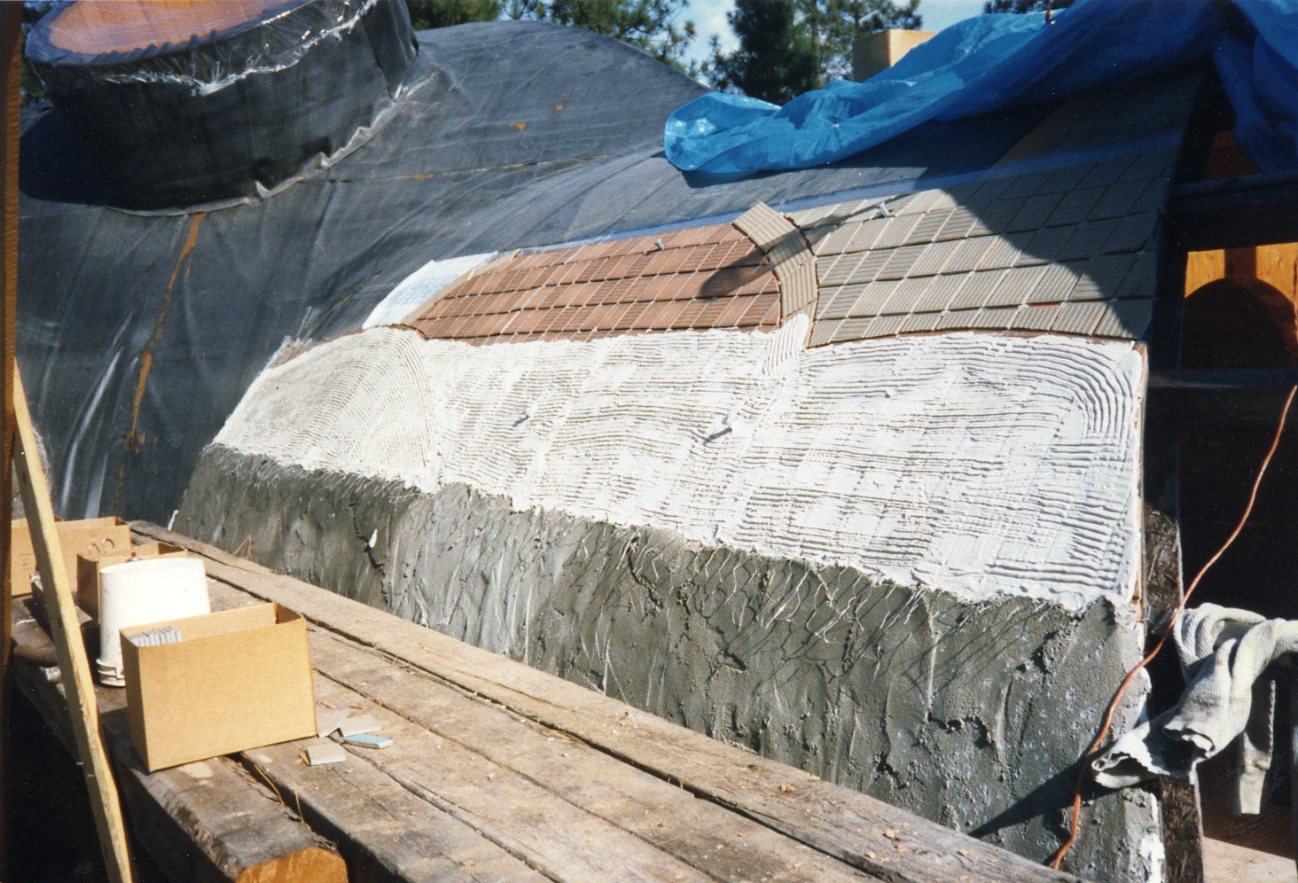
The layers of tile, thinset and mortar
The answer to the what-holds-on-to-rocks question is thinset, the mixture you use to hold tile in place. (Too bad I didn’t realize that before we did the kitchen rocks.) The next big project was putting tile on the outside of the bathroom arch form facing in so that it would be properly exposed when the form was removed. To make life more interesting – or just because I’m nearly insane – I wanted to have the tilework form a pattern on the wall/ceiling of the bathroom arch. I worked out a design that looks like trees with curved hills in the background and a blue sky above. It was a little like those pictures you make with cut-out pieces of paper. I drew the pattern with a big yellow crayon on the rubber sheeting that covered the arch. To get the tiles to stay in place face down, I taped clear contact paper with the sticky side up to the rubber sheeting that covered the arch. Bina, April and I placed the tiles on the contact paper seperated by little plastic spacers, designed for that job, and with thin strips of cardboard between the tiles. I would later fill that space with grout from the inside but did not want to put the grout on from the back and have it wrap around the front of the tile.
The next year’s phase would be putting rebar in place over all of this tile and rock work. I wanted the tilework to stand up to the traffic a little better than I expected the rock work to hold up, so besides thinset on the back of the tile, I used a toothed trowel to carve furrows in the thinset that mortar could cling to. Between the thinset and the mortar we rolled out chicken wire to keep cracks from developing. The whole assembly was about an inch and a half thick. Granted, this was a lot of work but it worked out perfectly and was strong enough to walk on. No tiles were lost or too far out of place. Some of the form’s panels caused distortions in the pattern and the cardboard was tedious to remove. But we would not see that result for about another year.
So at the end of year two (three really if you count excavation and form work in 1990), we had a complete set of forms covered with rubber sheeting and over that sheeting on two of the four wings of the house, we had rockwork and tilework in place to be revealed when the forms were removed. We had a dry, heatable interior to the house but still did our cooking and socializing in the trailer.
This blog brings back lots of memories. Thanks Joe!
PermalinkThanks Dale. Actually it took some research just to figure out what year things happened in. Bringing back memories is not that easy, but worth it.
Permalink